BeShop - Beauty Store App by George_FX v1.0
BeShop - Beauty Store App
Thank you for purchasing my theme. If you have any questions that are beyond the scope of this help file, please feel free to email via my user page contact form here . Thanks so much!
Before setting up the project, you should have a basic understanding of the following: Html, Css, Javascript, Angular, Node.js, npm for more information about the above topics, you can visit the following links: HTML CSS Javascript Angular Node.js npm
You need to follow these steps to install the theme:
- 1. Important Requirements
- 2. Folder structure
- 3. Install environment
- 4. Install dependencies
- 5. Change Assets
- 6. Customization
- 7. Run the project
- 8. Build the project
- 9. Deploy the project
- 10. API Usage
- 11. API Integration
- 12. Support and Dependencies
- 13. Changelog
1. Important Requirements
The project is built with the following versions:
Node.js:
Version
24 or higher
is required to run the project.
[Node.js Official Site]
Angular CLI:
Version
19.x
is recommended.
[Angular CLI]
Angular:
The project is built with
Angular 19
.
[Angular Official Site]
npm:
Version
11
was used for dependency management.
[npm Official Site]
Please ensure your development environment matches these versions for optimal compatibility and performance.
To check your installed versions, run:
node -v
,
npm -v
,
ng version
2. Folder structure
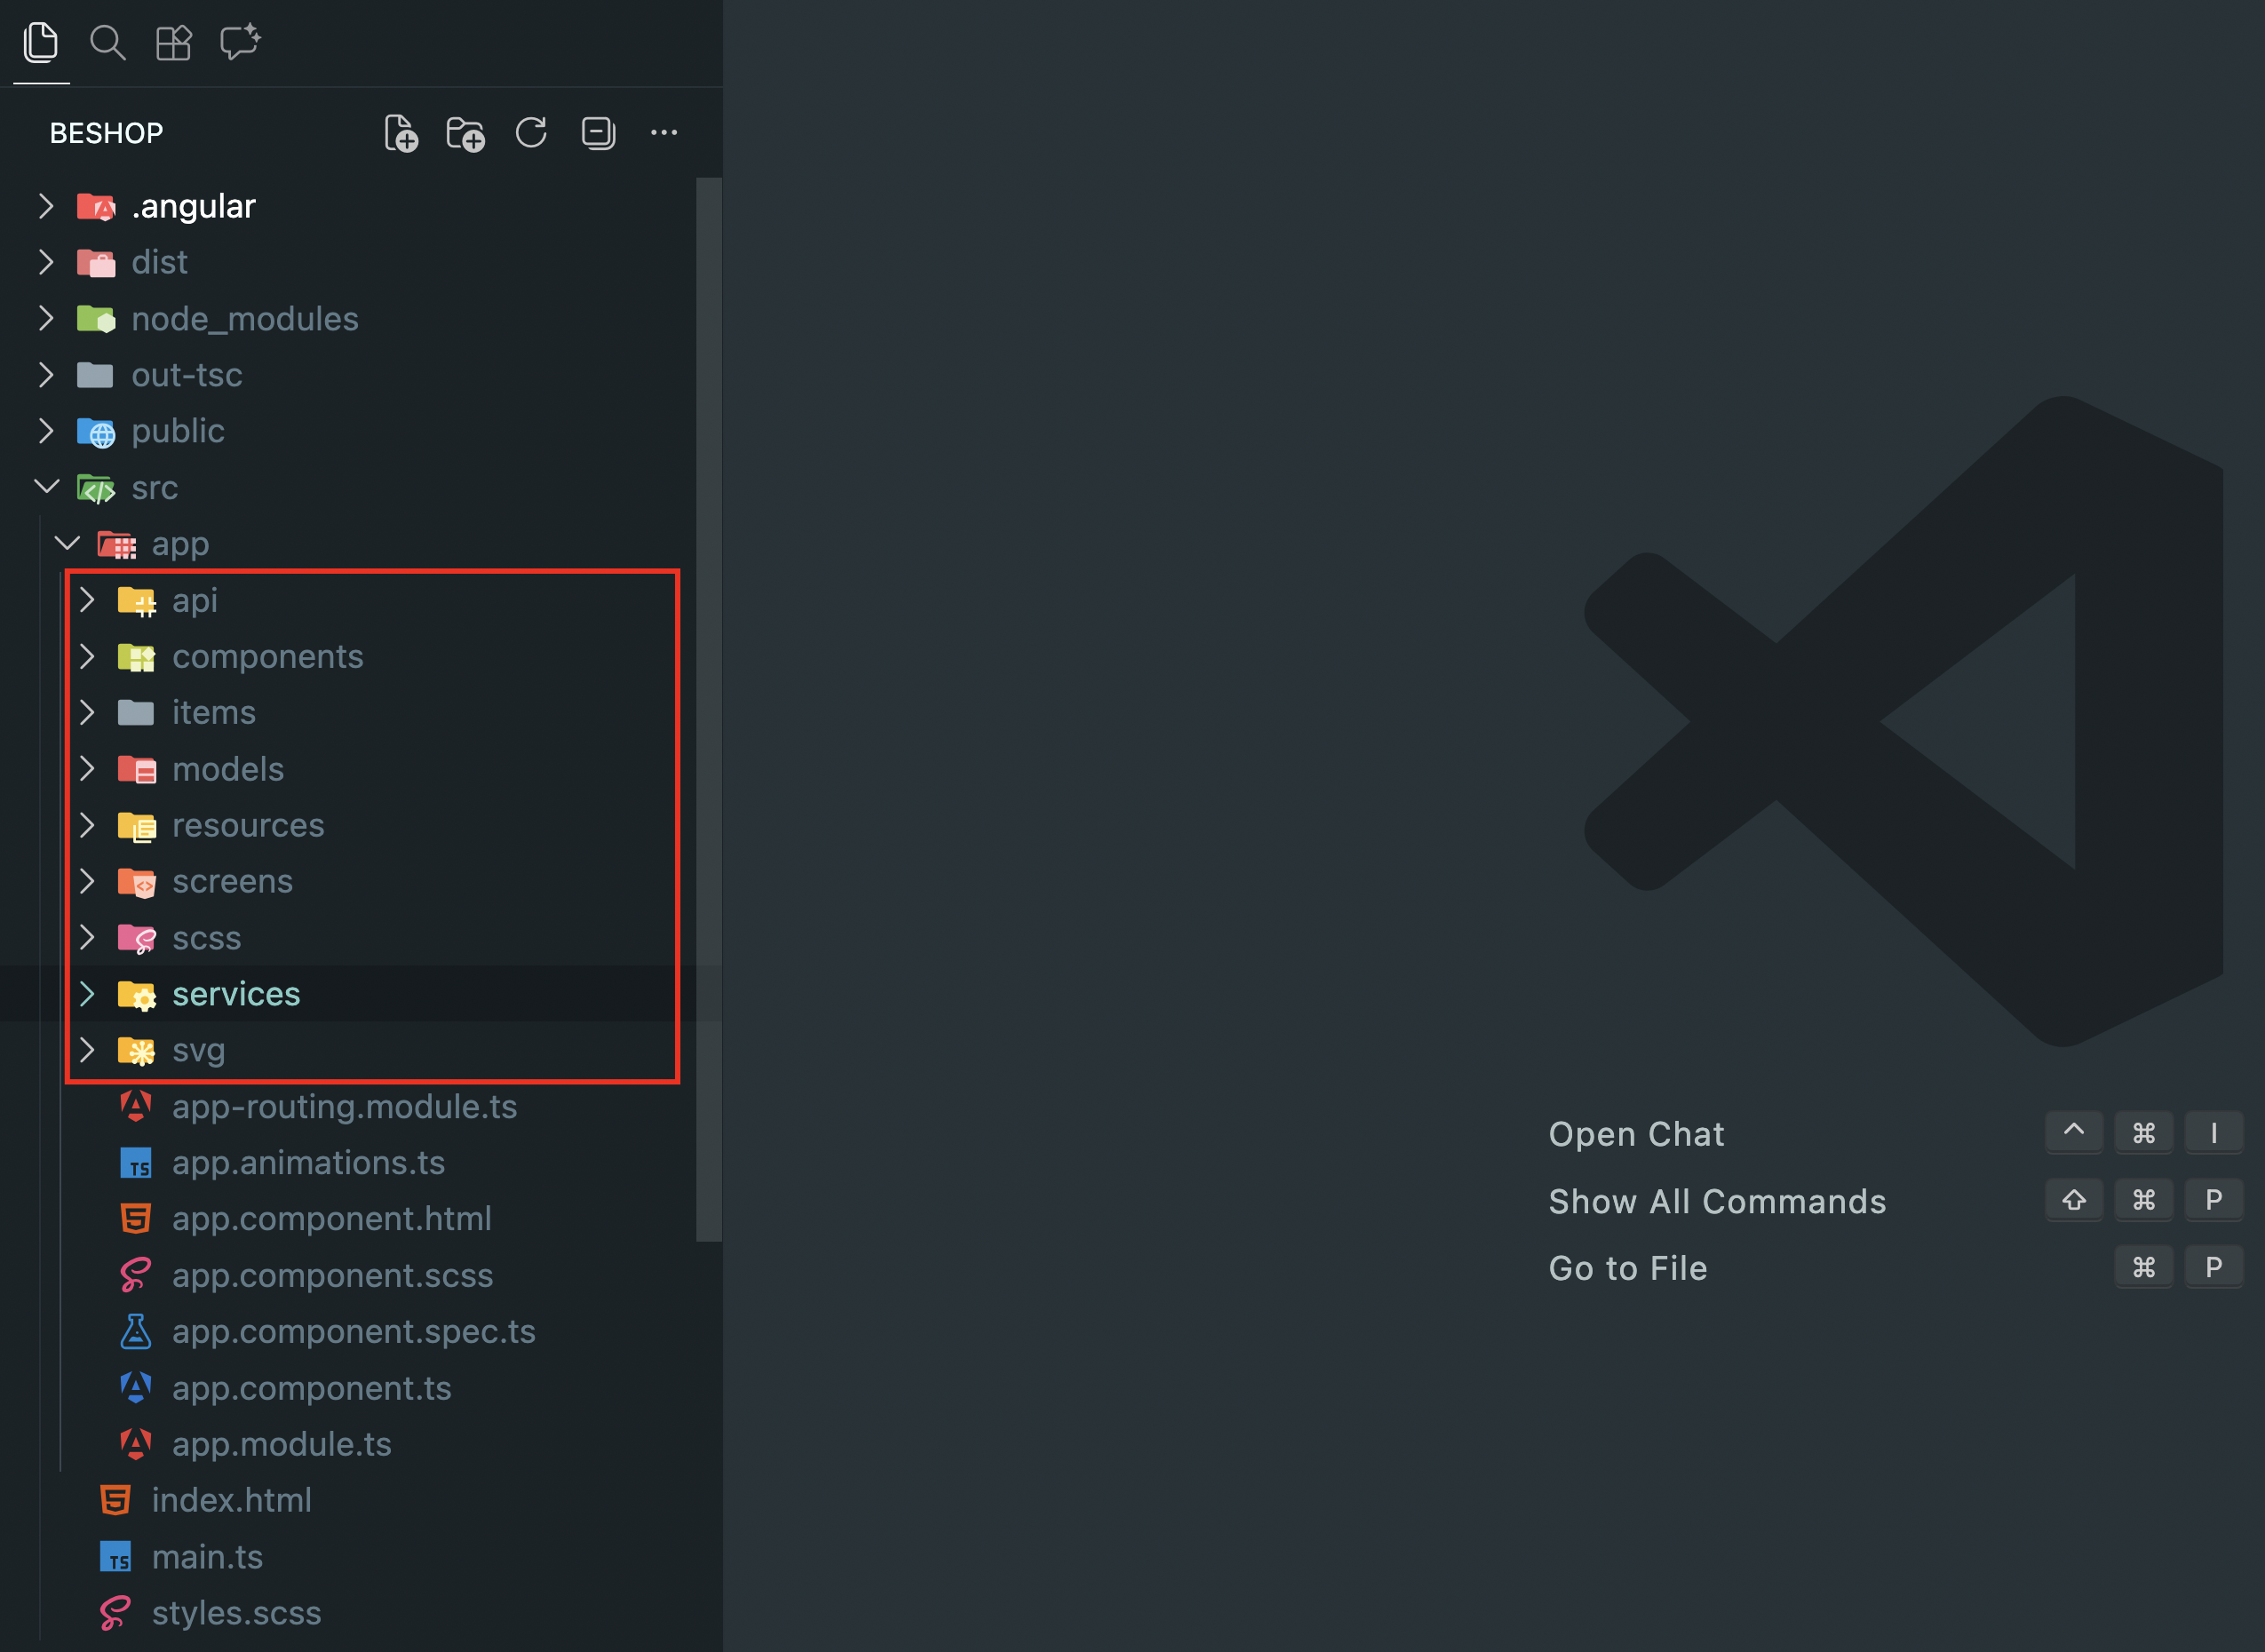
The folder structure of the BeShop project is organized to help you easily locate and manage different parts of the application. Each folder serves a specific purpose, such as storing public assets, application logic, reusable components, configuration files, and more. Understanding this structure will make it easier to customize, maintain, and scale your project.
- beshop > public: Contains the public files.
- beshop > src > app: Contains the main application files.
- beshop > src > app > api: Contains the API-related files.
- beshop > src > app > components: Contains reusable UI components.
- beshop > src > app > items: Contains item components for different items.
- beshop > src > app > models: Contains TypeScript models.
- beshop > src > app > resources: Contains resources for the application.
- beshop > src > app > screens: Contains screen components for different pages.
- beshop > src > app > scss: Contains SCSS files for styling the application.
- beshop > src > app > services: Contains services for API calls and data management.
- beshop > src > app > svg: Contains SVG files for icons and illustrations.
3. Install environment
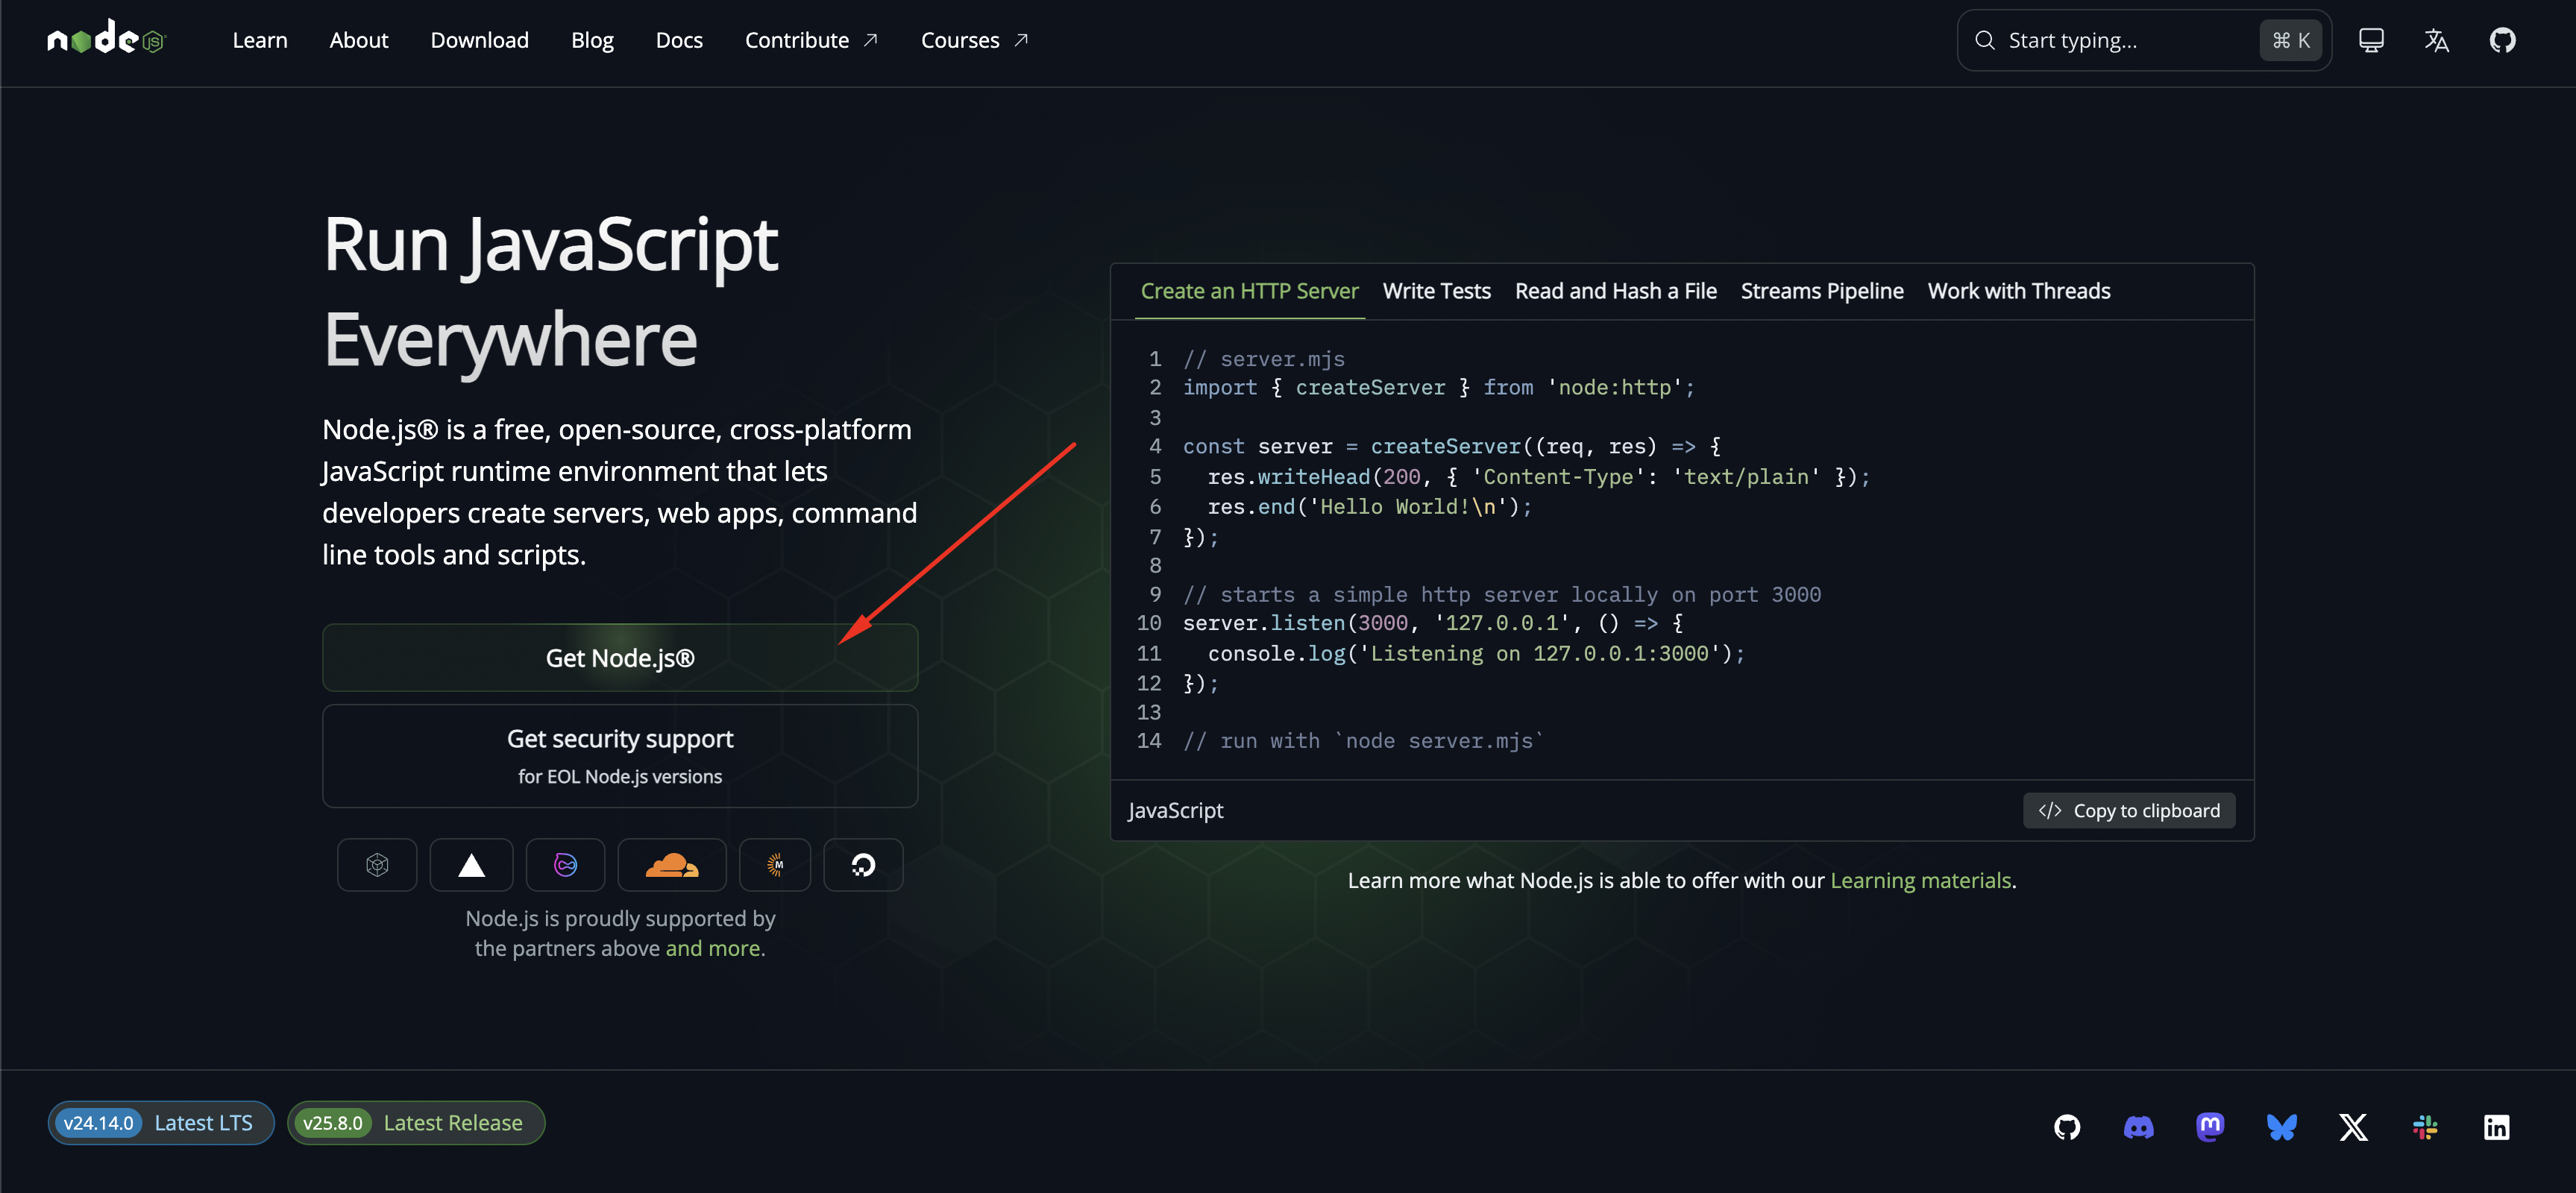
Your computer should have Node.js (version 24 or higher) and npm installed to manage the dependencies. You can download Node.js (which includes npm) from the following link: Node.js
To verify your installation, run the following commands in your
terminal:
node -v
and
npm -v
4. Install dependencies
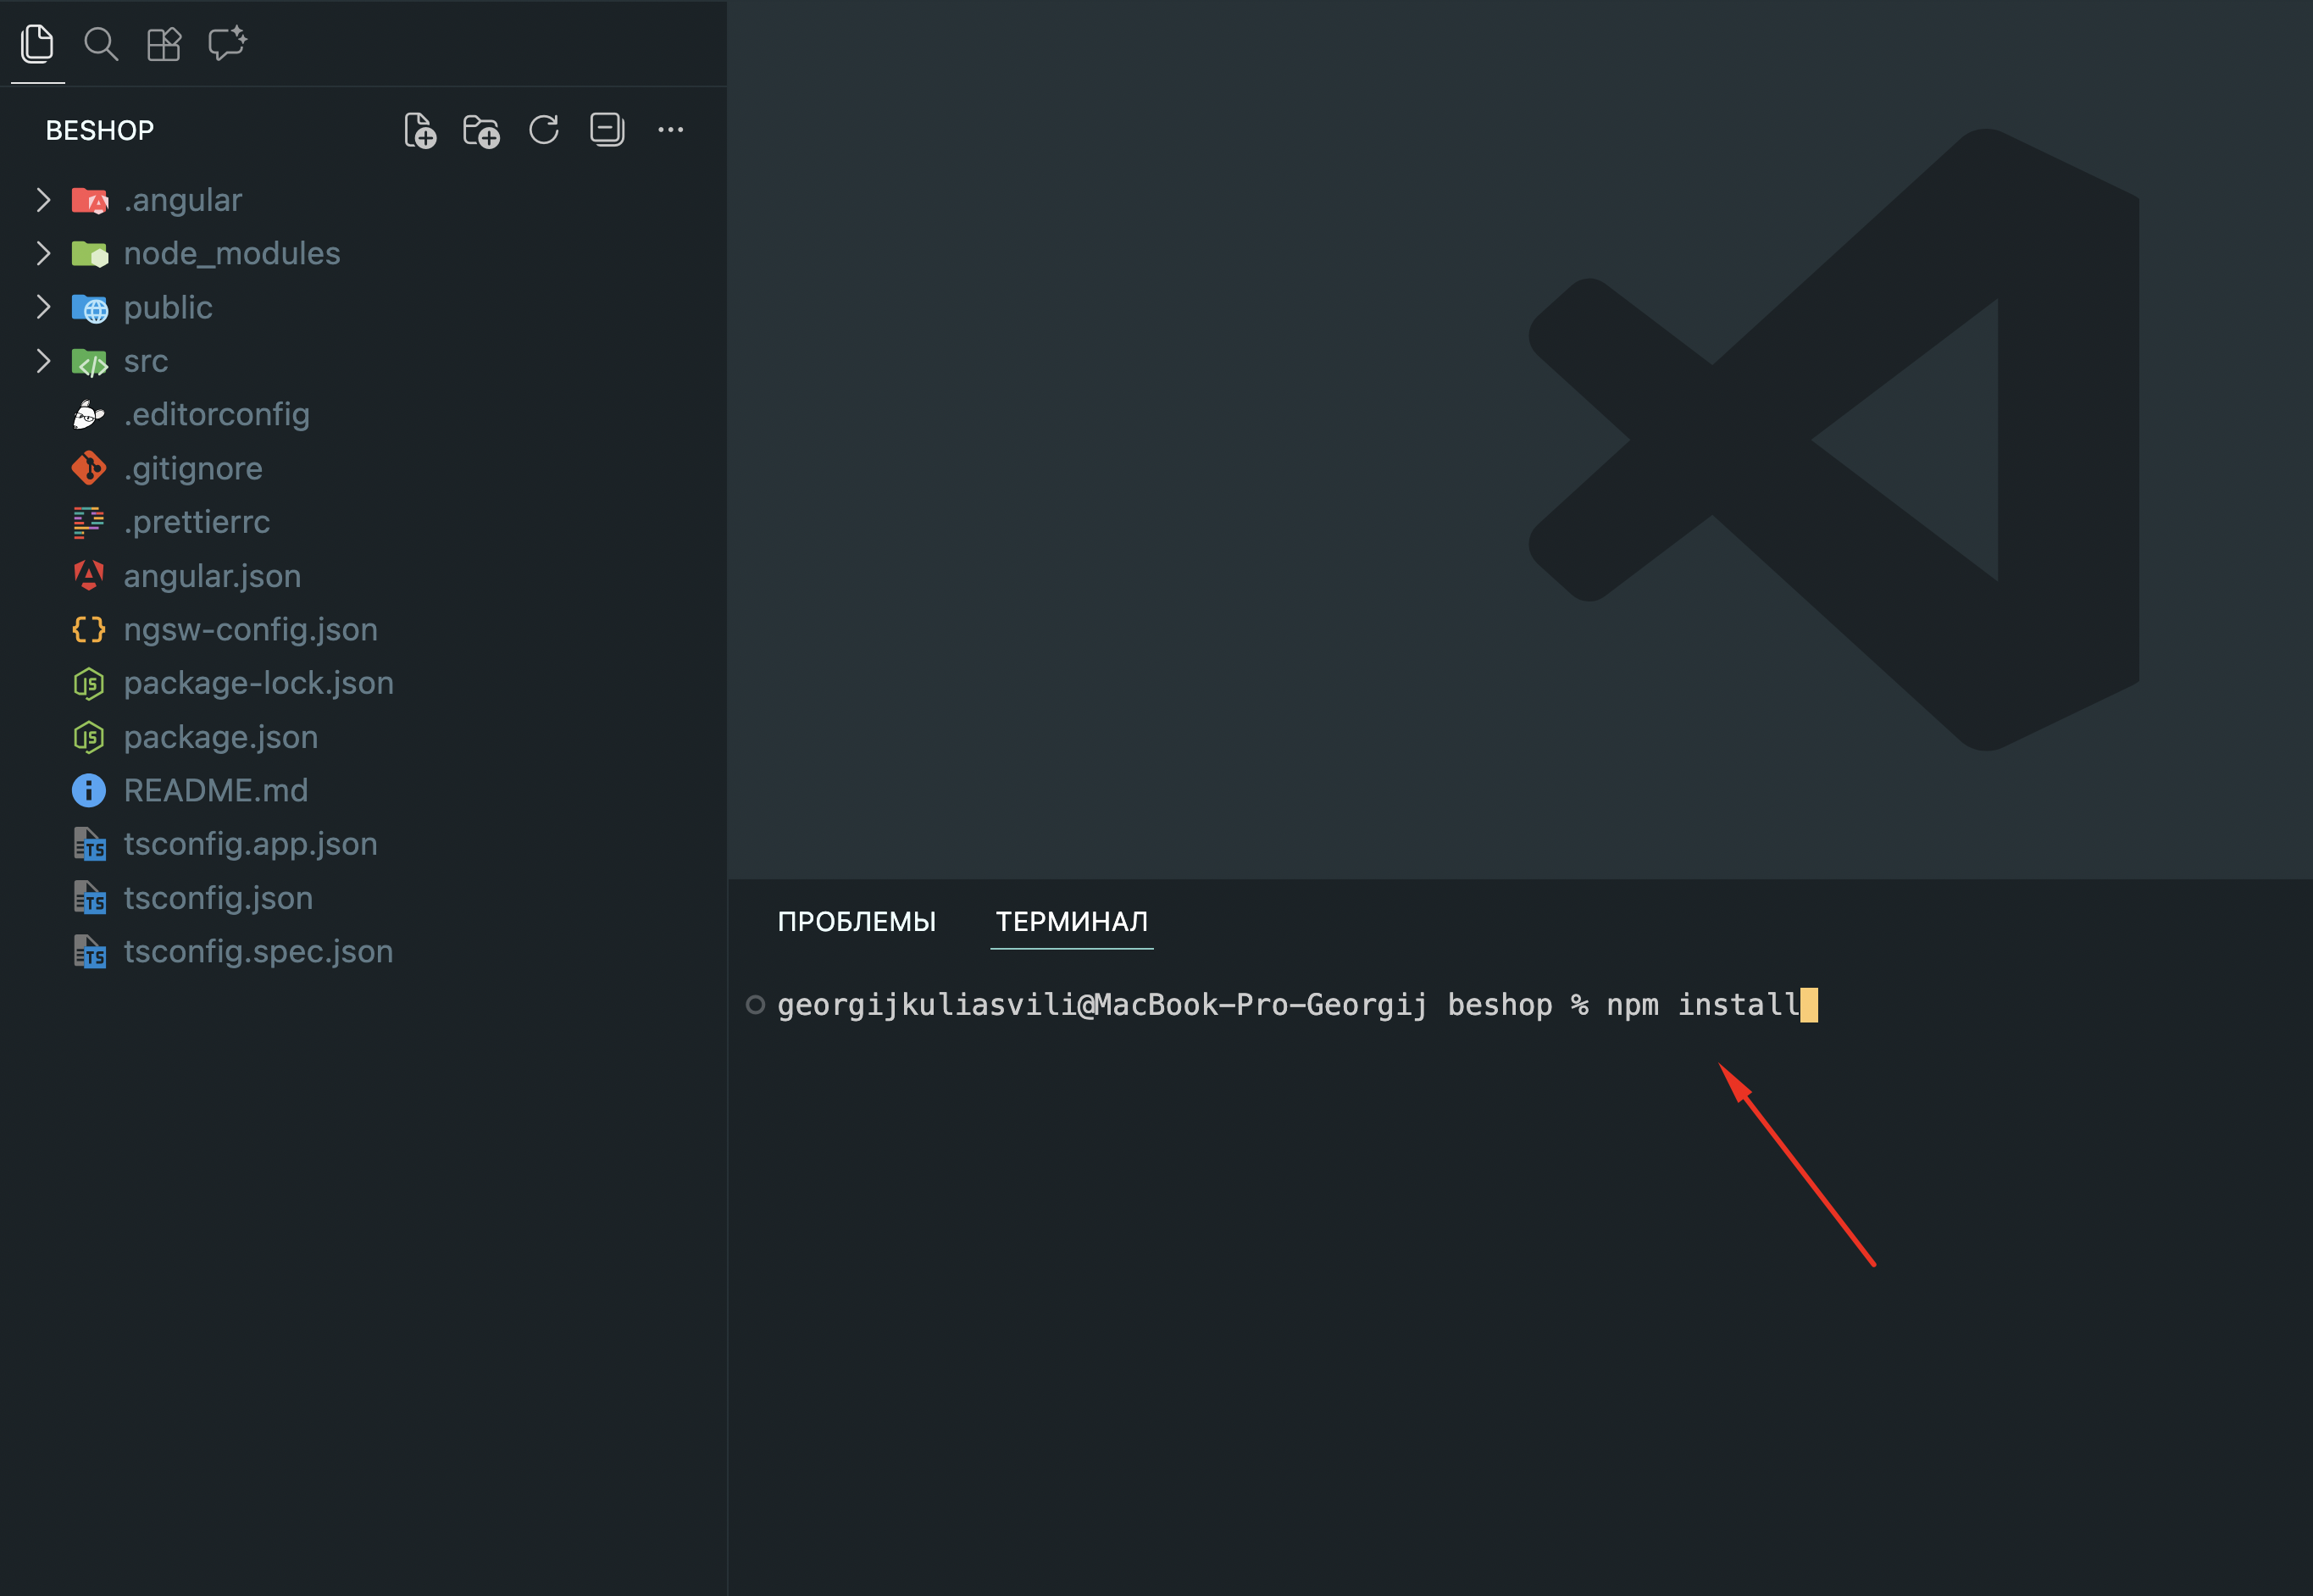
To install the project dependencies, run the following command in the
project directory:
npm install
5. Change Assets
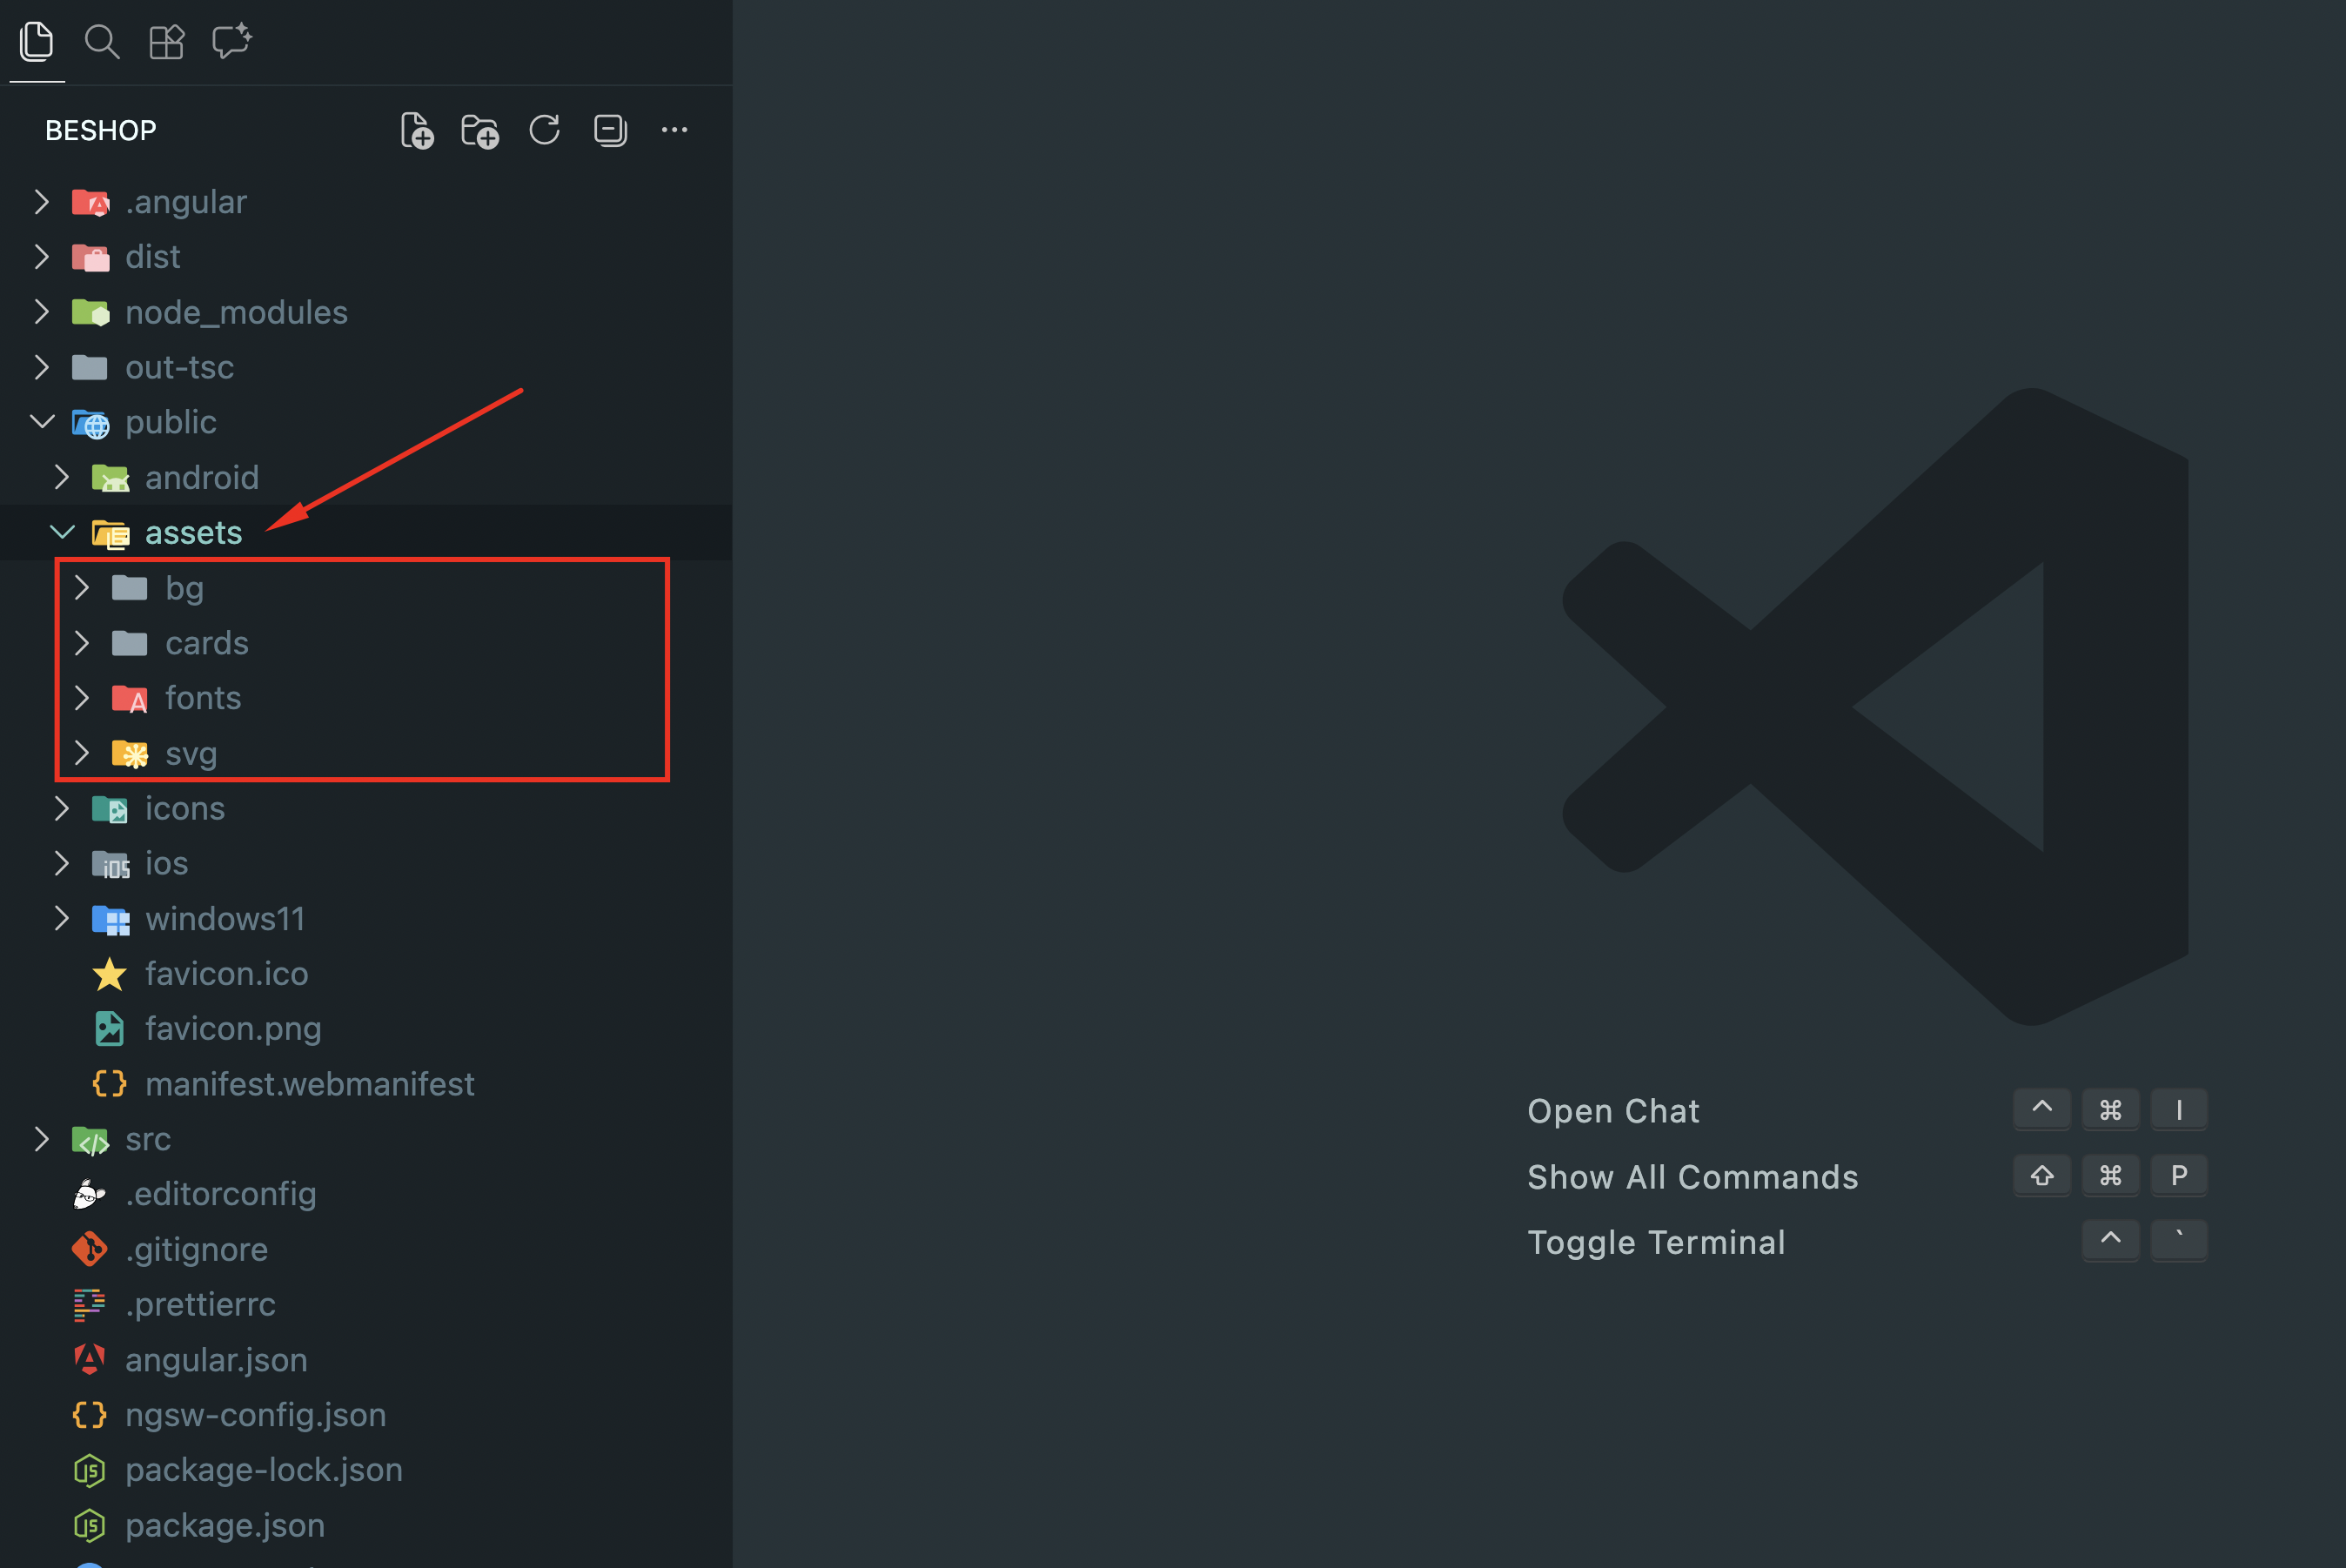
All asset files are located in the
public/assets
folder. All other images are loaded via external URLs and are defined
using standard HTML
<img>
tags in Angular components.
To change any image, simply replace the URL in the corresponding
Image
component with your own image link. This approach allows for easy
customization without modifying local files.
The project uses vector graphics in SVG format. You can easily replace these graphics with your own by placing the SVG code in the same file and keeping the original file name. Please note: the size of your SVG should match the original dimensions to ensure the application's design remains consistent.
The logo is also provided in SVG format, with dimensions of 79 by 32 pixels, and is located in the header component. If you need to replace the logo, please ensure your new SVG matches the original size (79 × 32 pixels) to maintain visual consistency throughout the application.
Fonts are located in the public/assets/fonts folder and are configured in the src/app/scss/_fonts.scss file. To add your own font, simply place the font file in the public/assets/fonts directory and define the font in the _fonts.scss file.
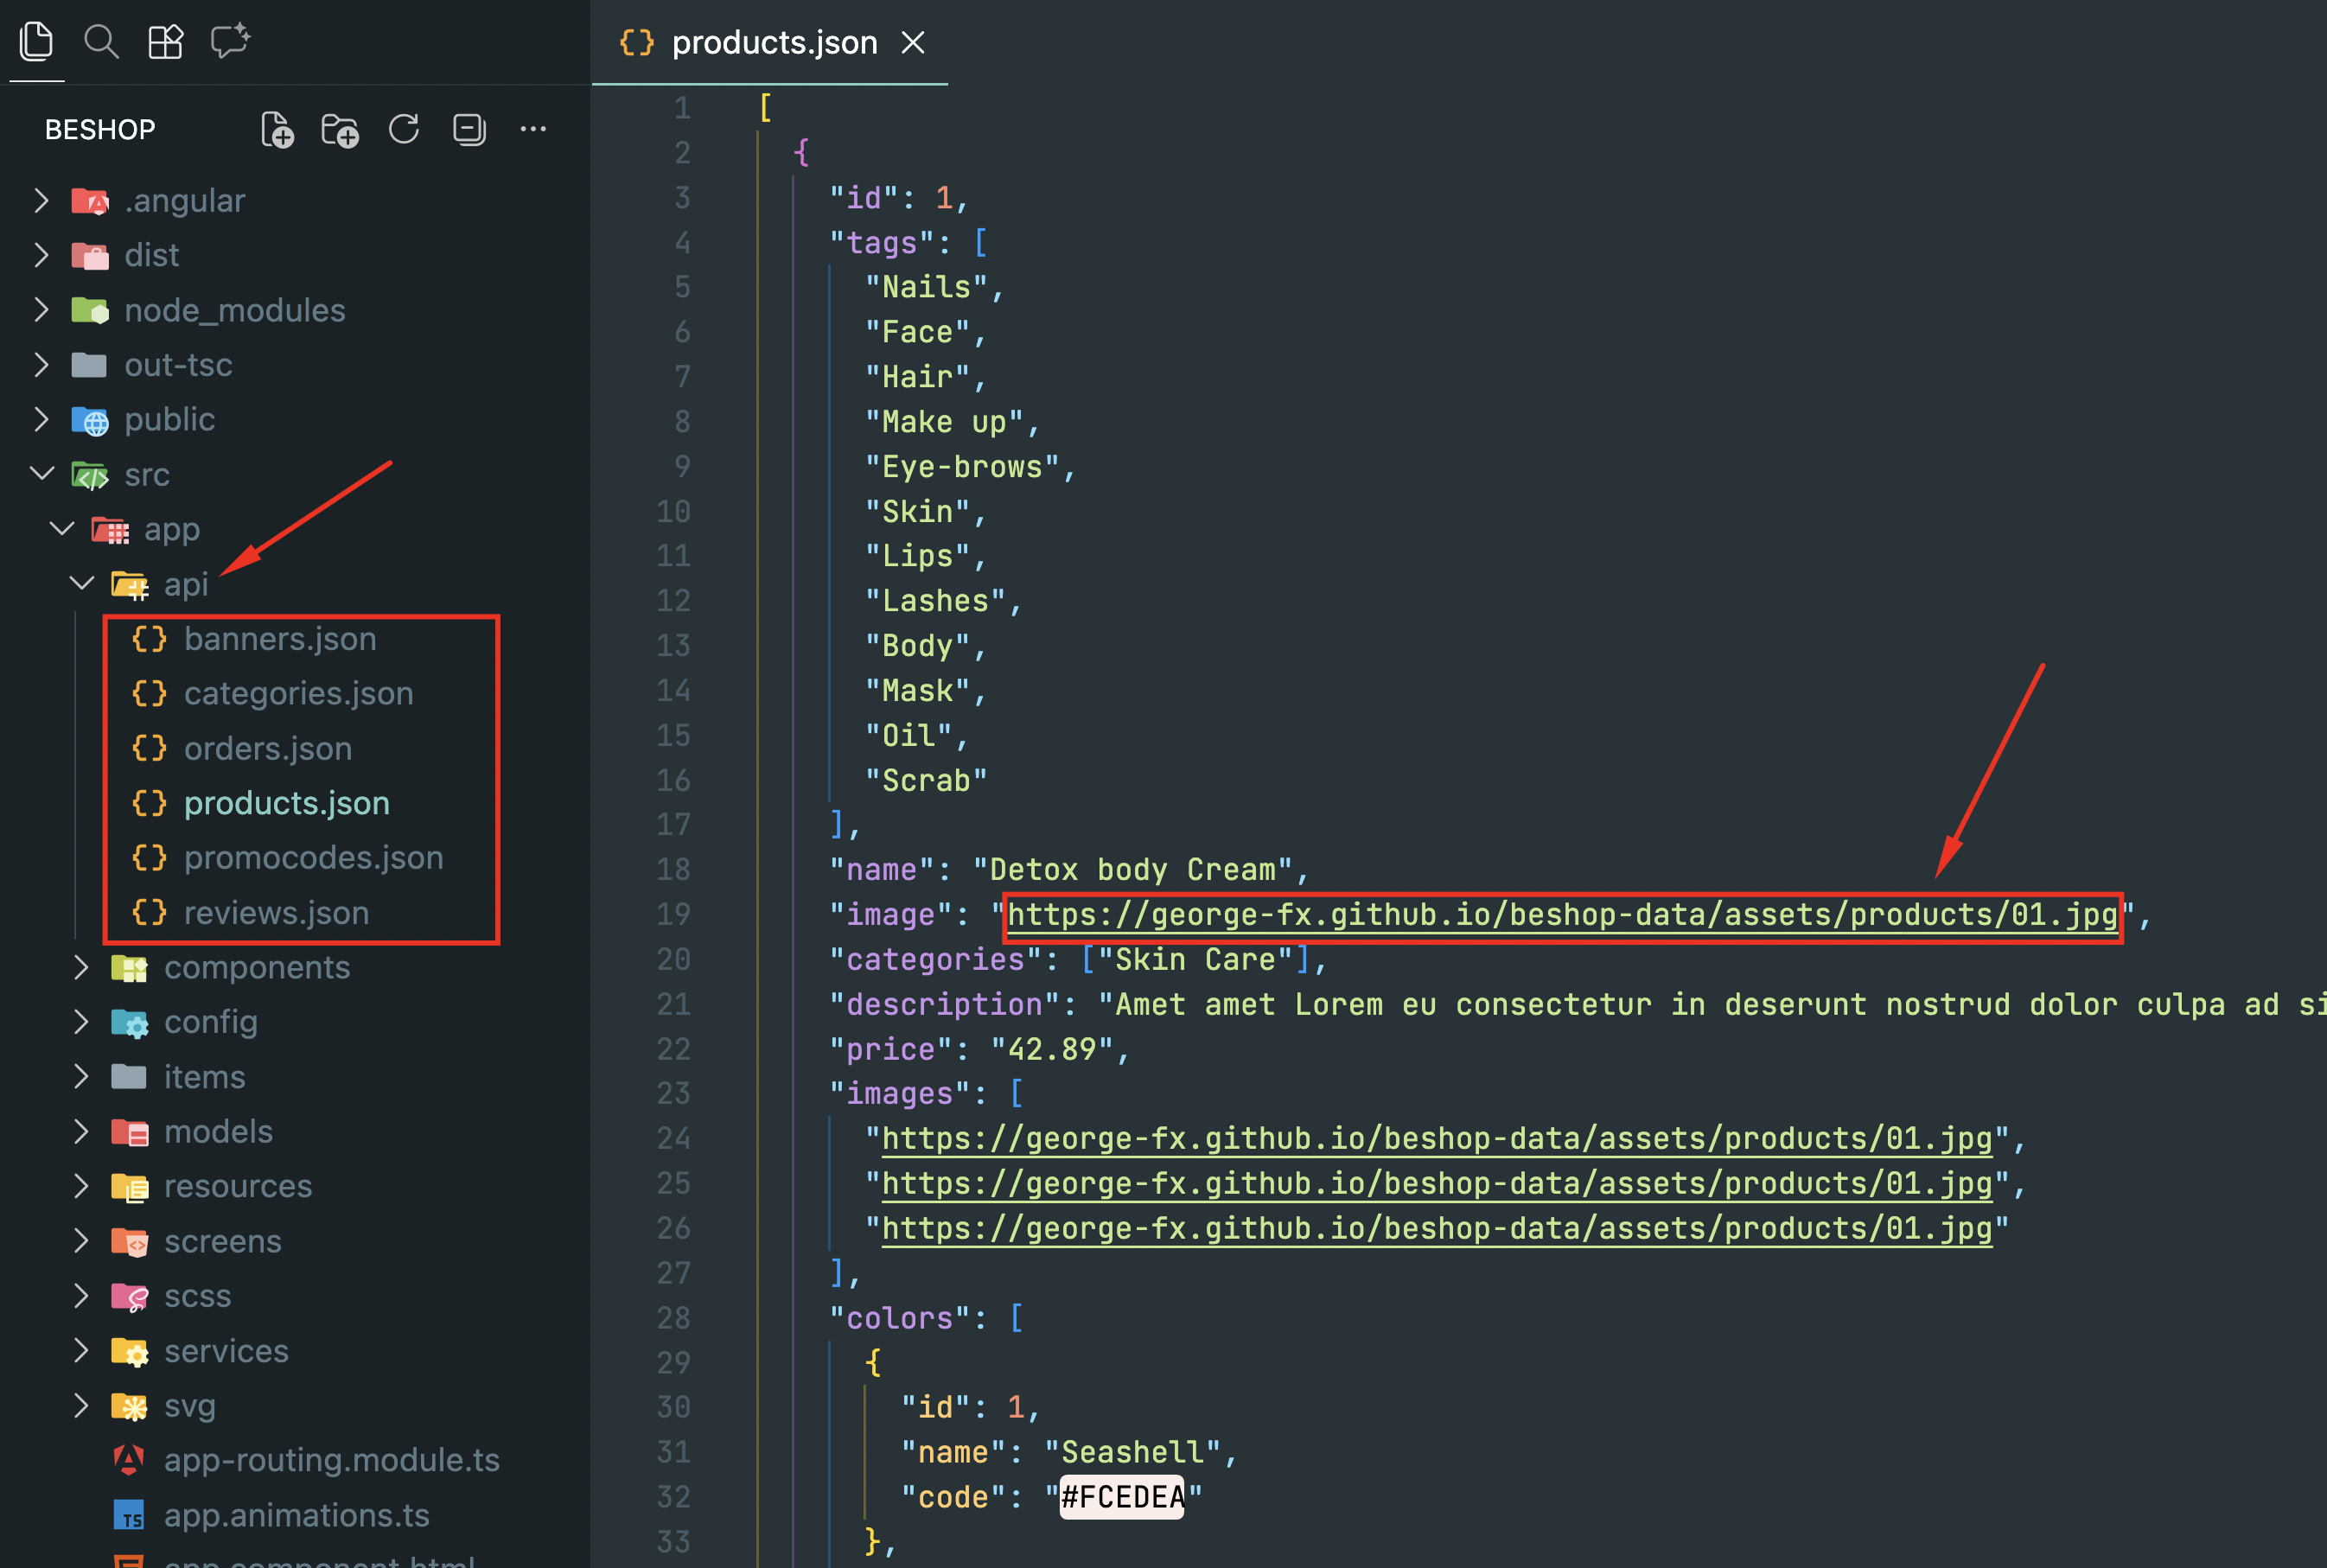
In most cases, you will need to replace the image URL in the data
array located in the
api
folder, where the data arrays are stored (these arrays will be fetched
asynchronously in the future).
6. Customization
The project uses SCSS for styling. Global styles and variables are
located in the
src/app/scss
folder.
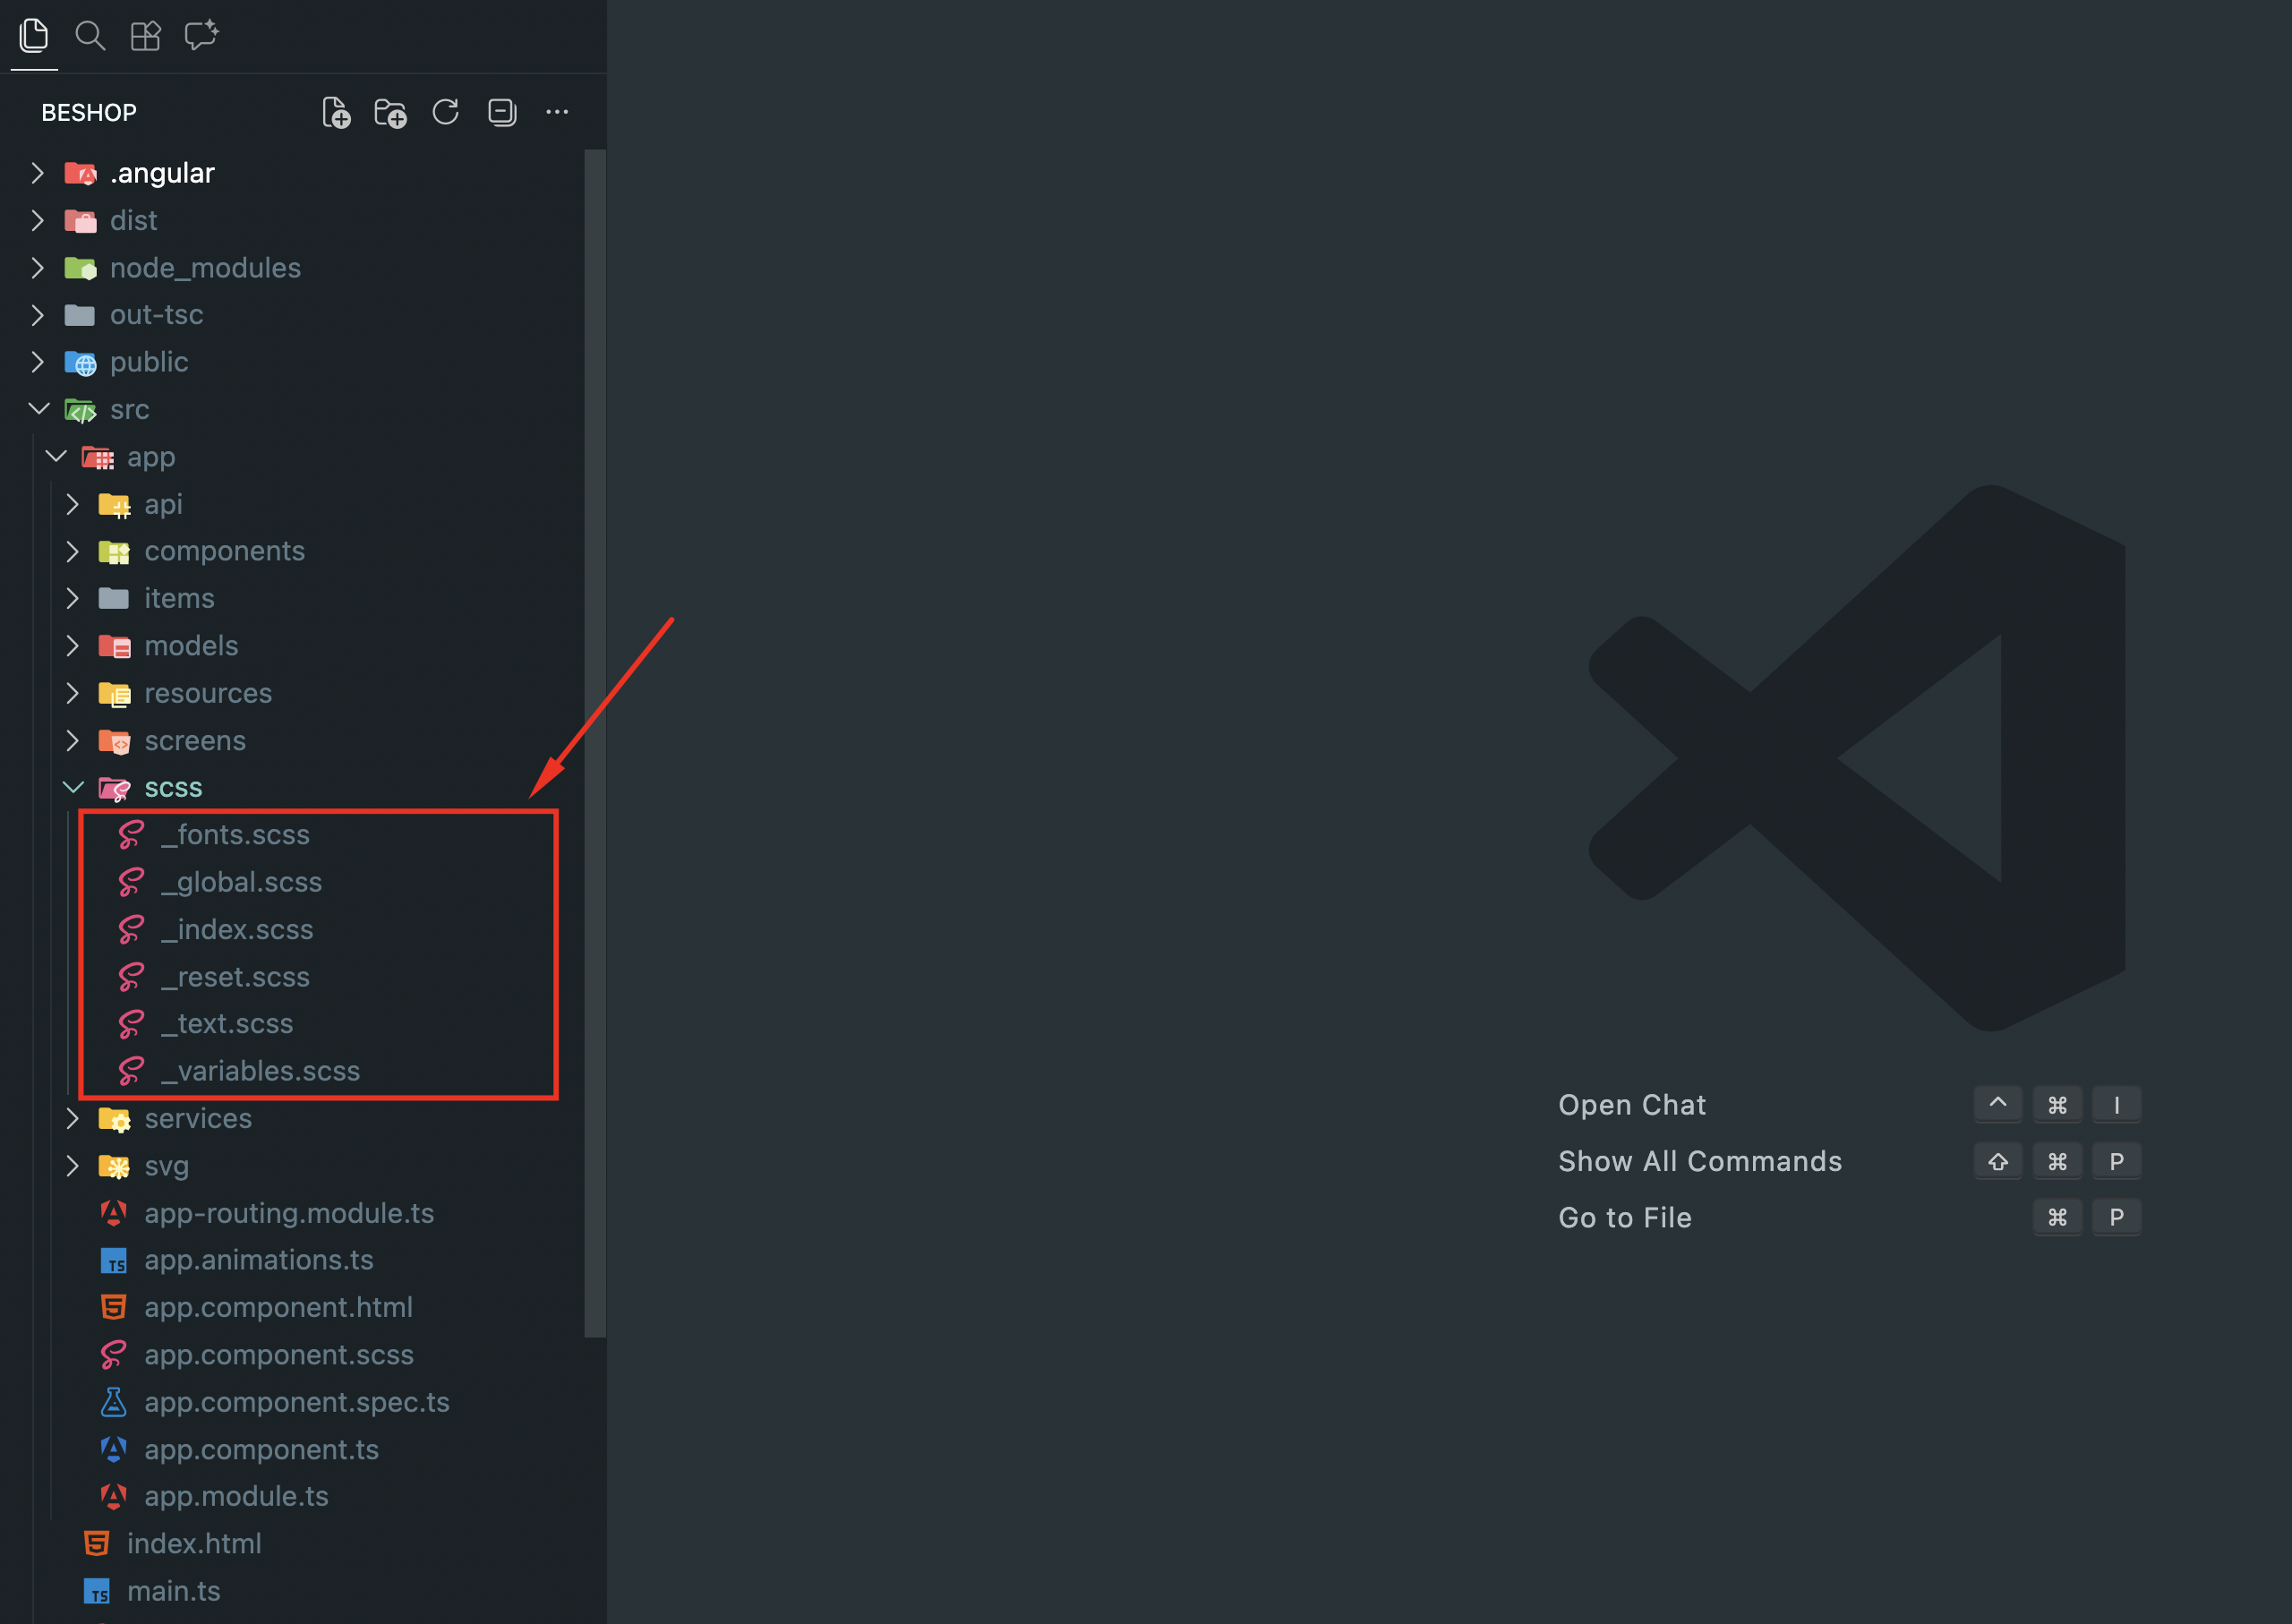
To customize colors, fonts, and other design tokens, edit the SCSS variables in the corresponding files. Changes will be automatically reflected throughout the application.
Additionally, each screen in the
src/app/screens
folder has its own dedicated SCSS file, allowing you to customize the
appearance of individual screens independently.
7. Run the project
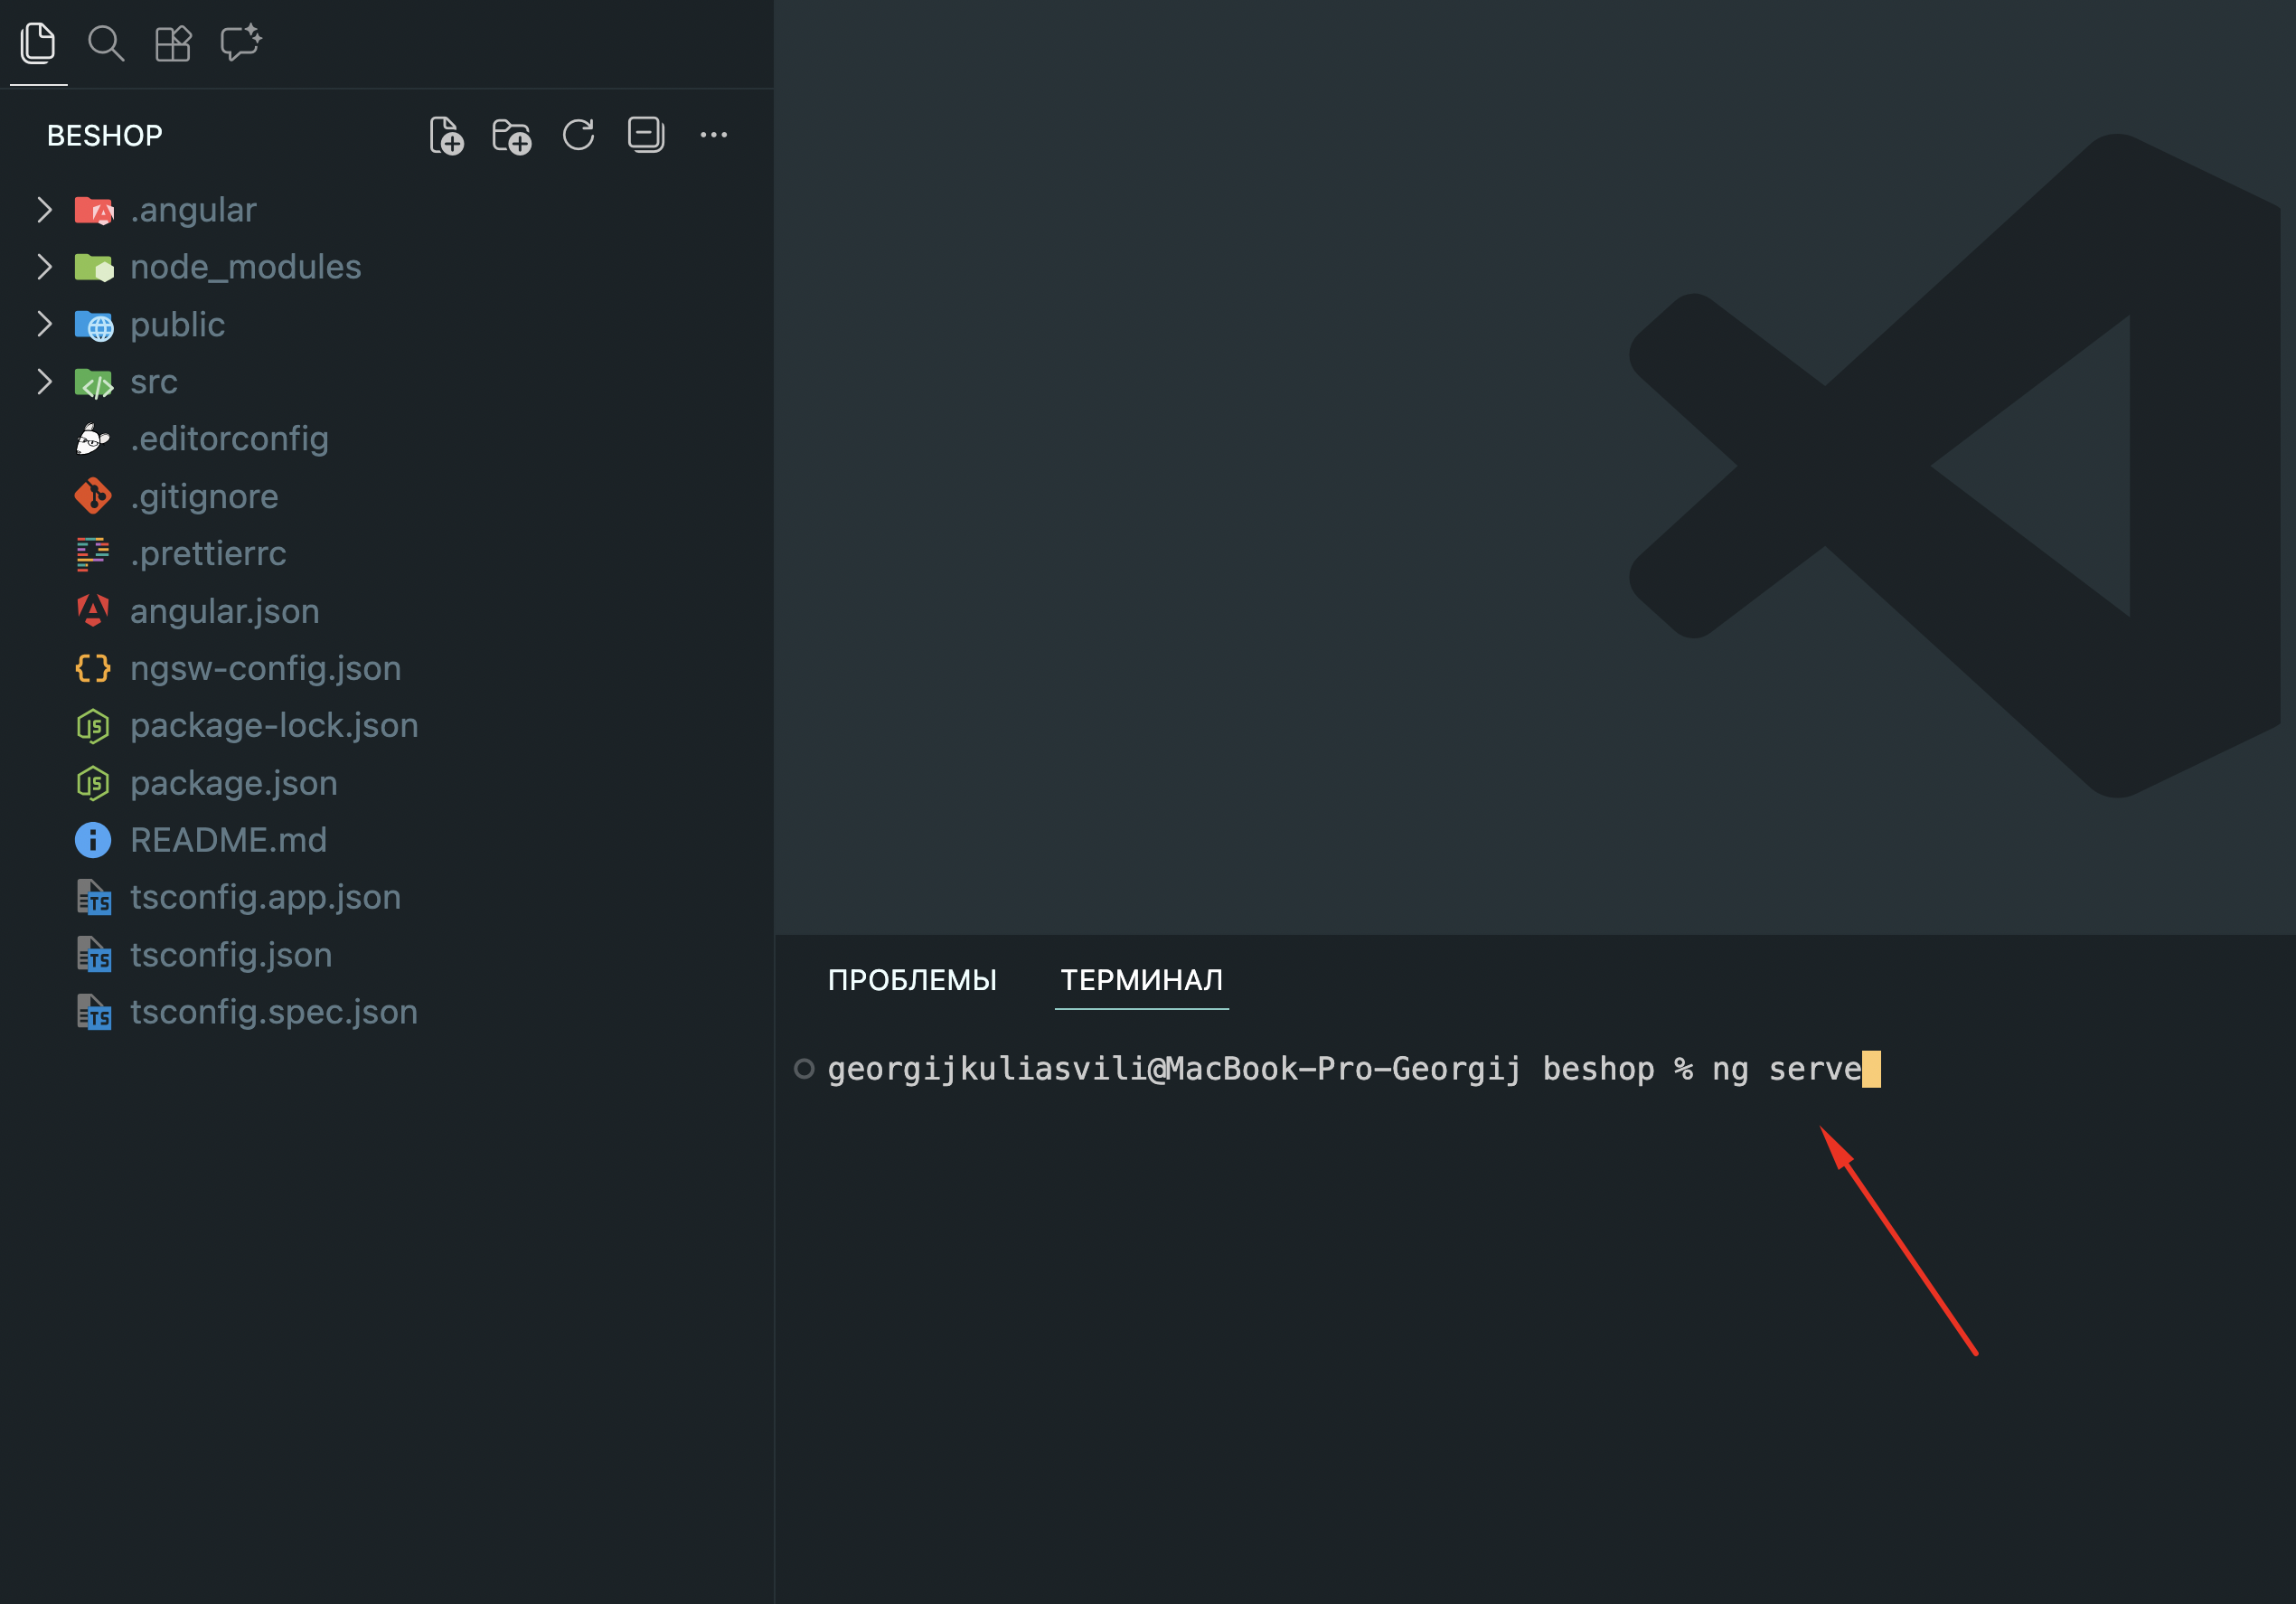
To run the project, use the following command:
ng serve
8. Build the project
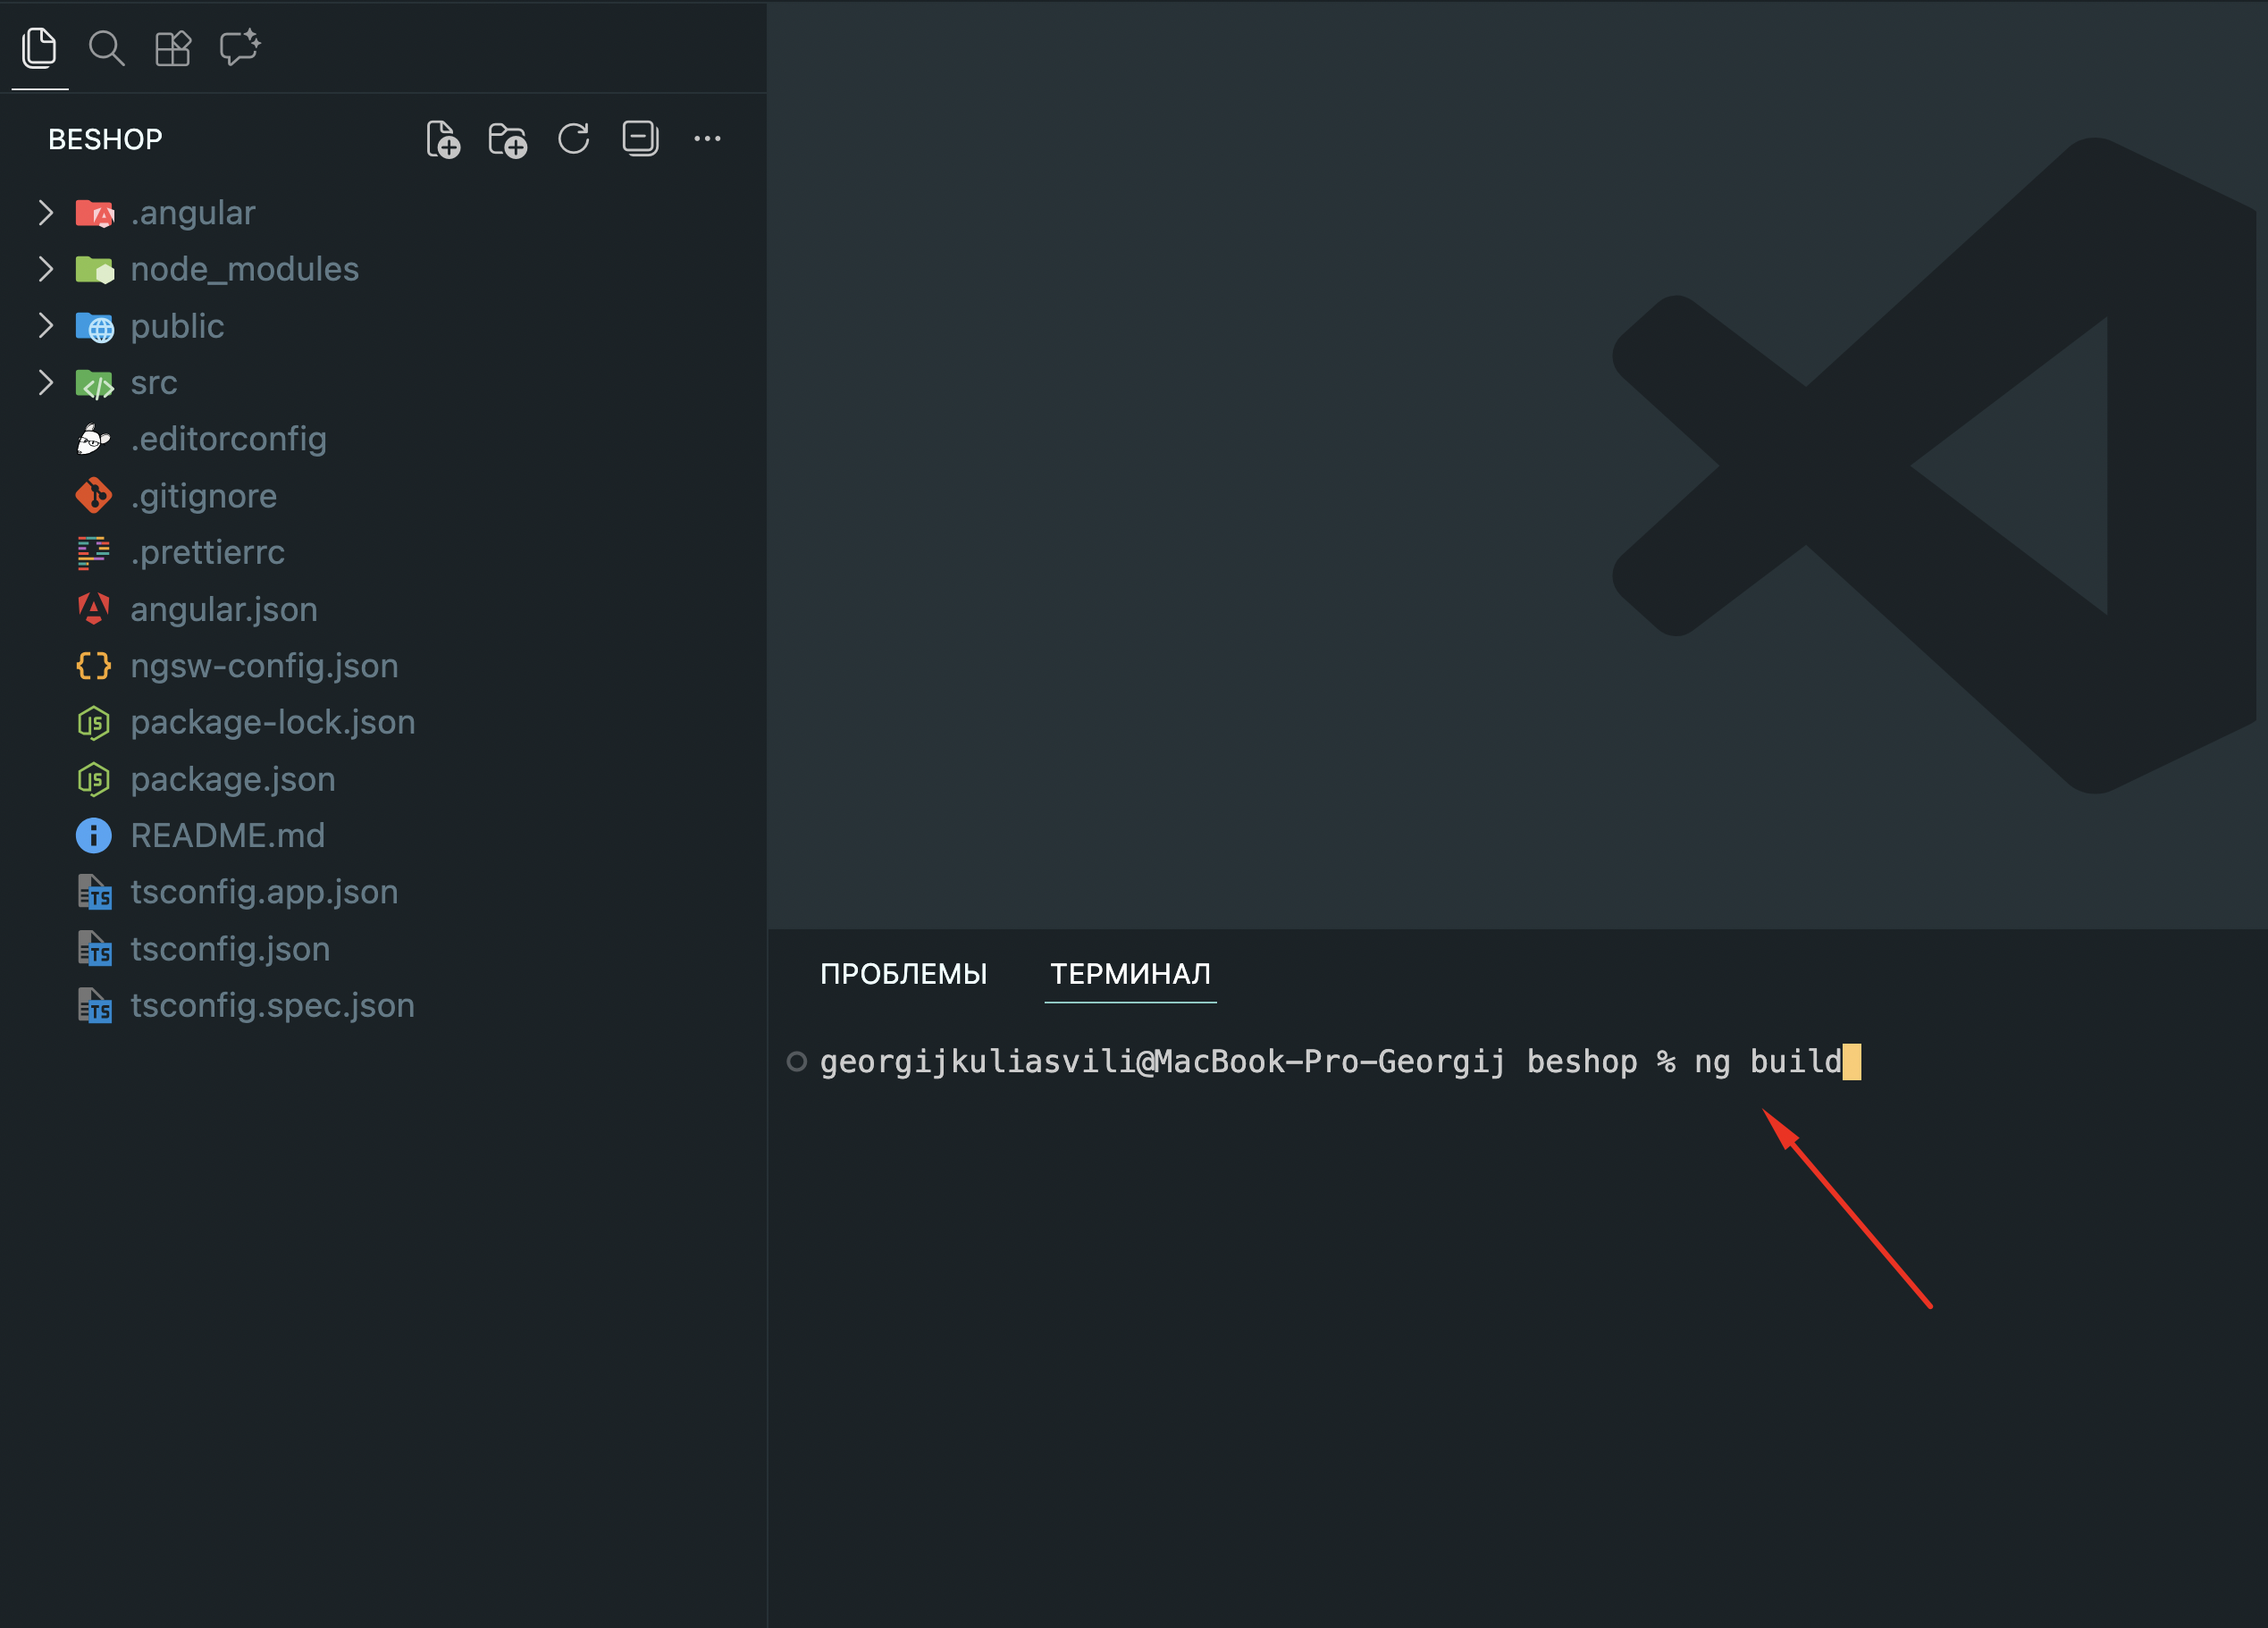
To build the project, use the following command:
ng build
You can find more information about the build process in the Angular
documentation:
Angular Build Documentation
9. Deploy the project
After building the project, you can deploy the contents of the
dist
folder to your hosting provider. The build process generates optimized
static files that can be served by any web server.
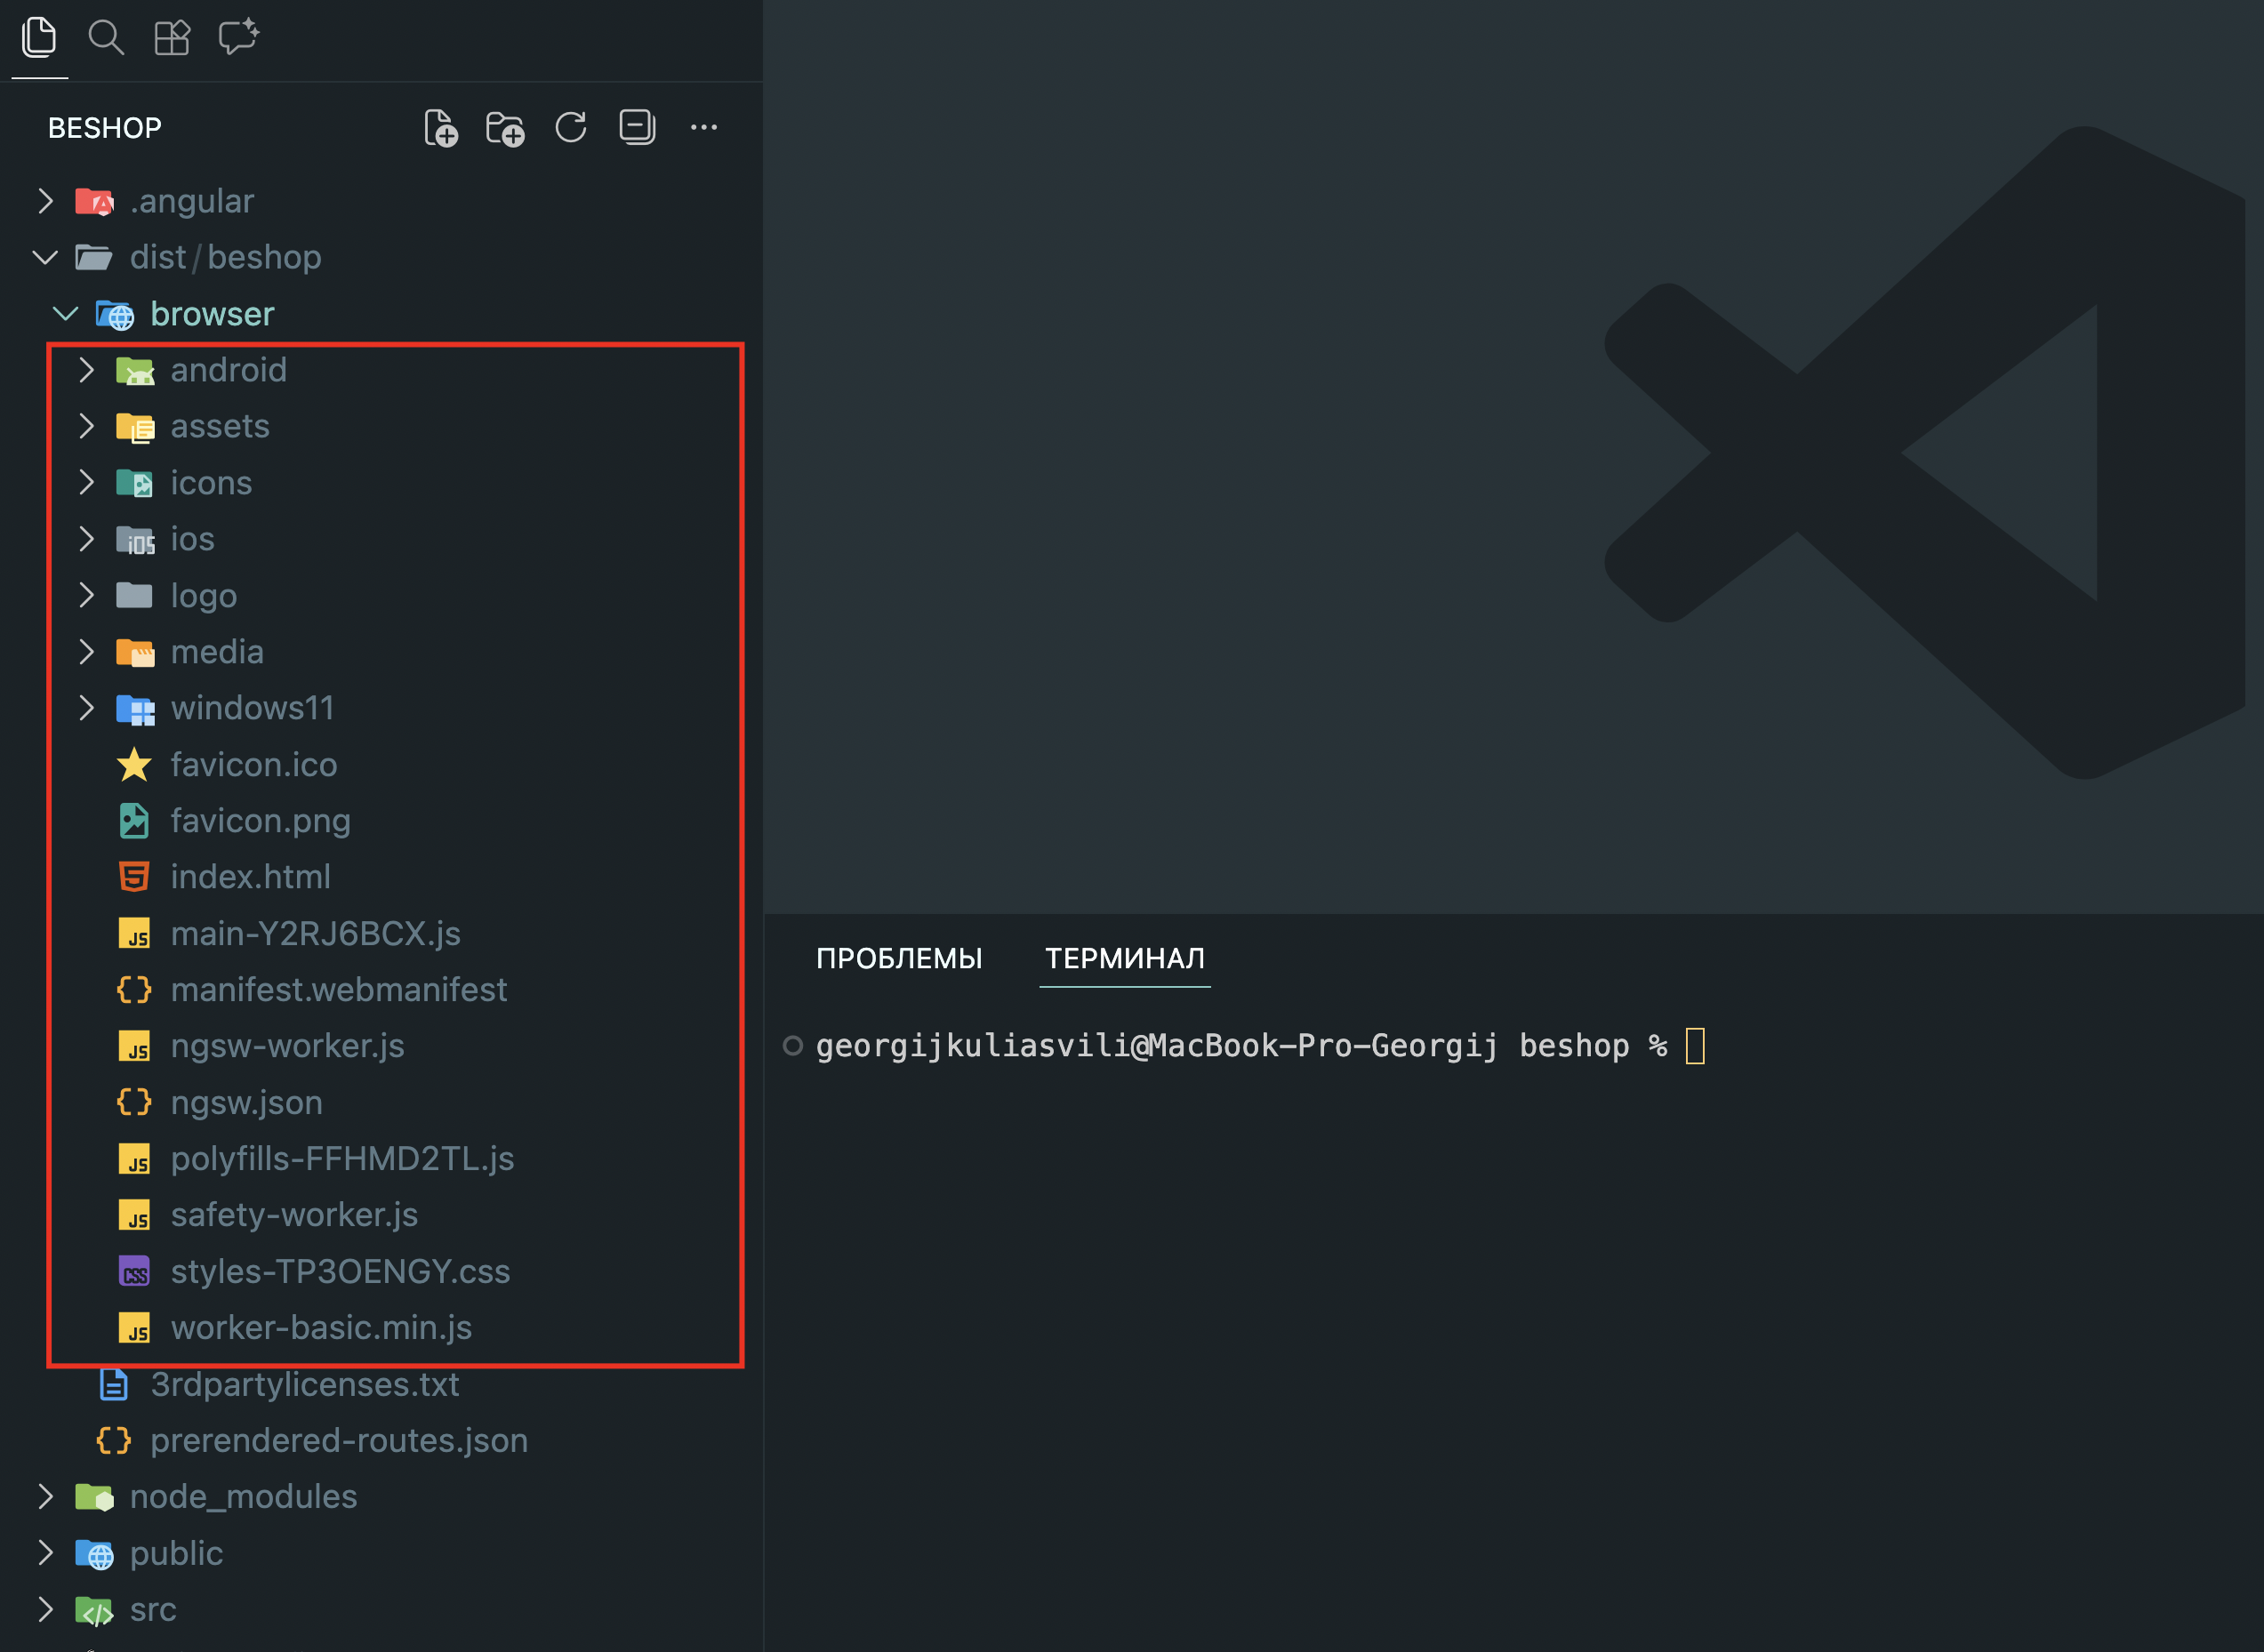
You can deploy
managed Angular with Vercel,
or self-host on a Node.js server, Docker image, or even static HTML
files.
You can find more information about the deployment process in Angular
documentation:
Angular Deployment
10. API Usage
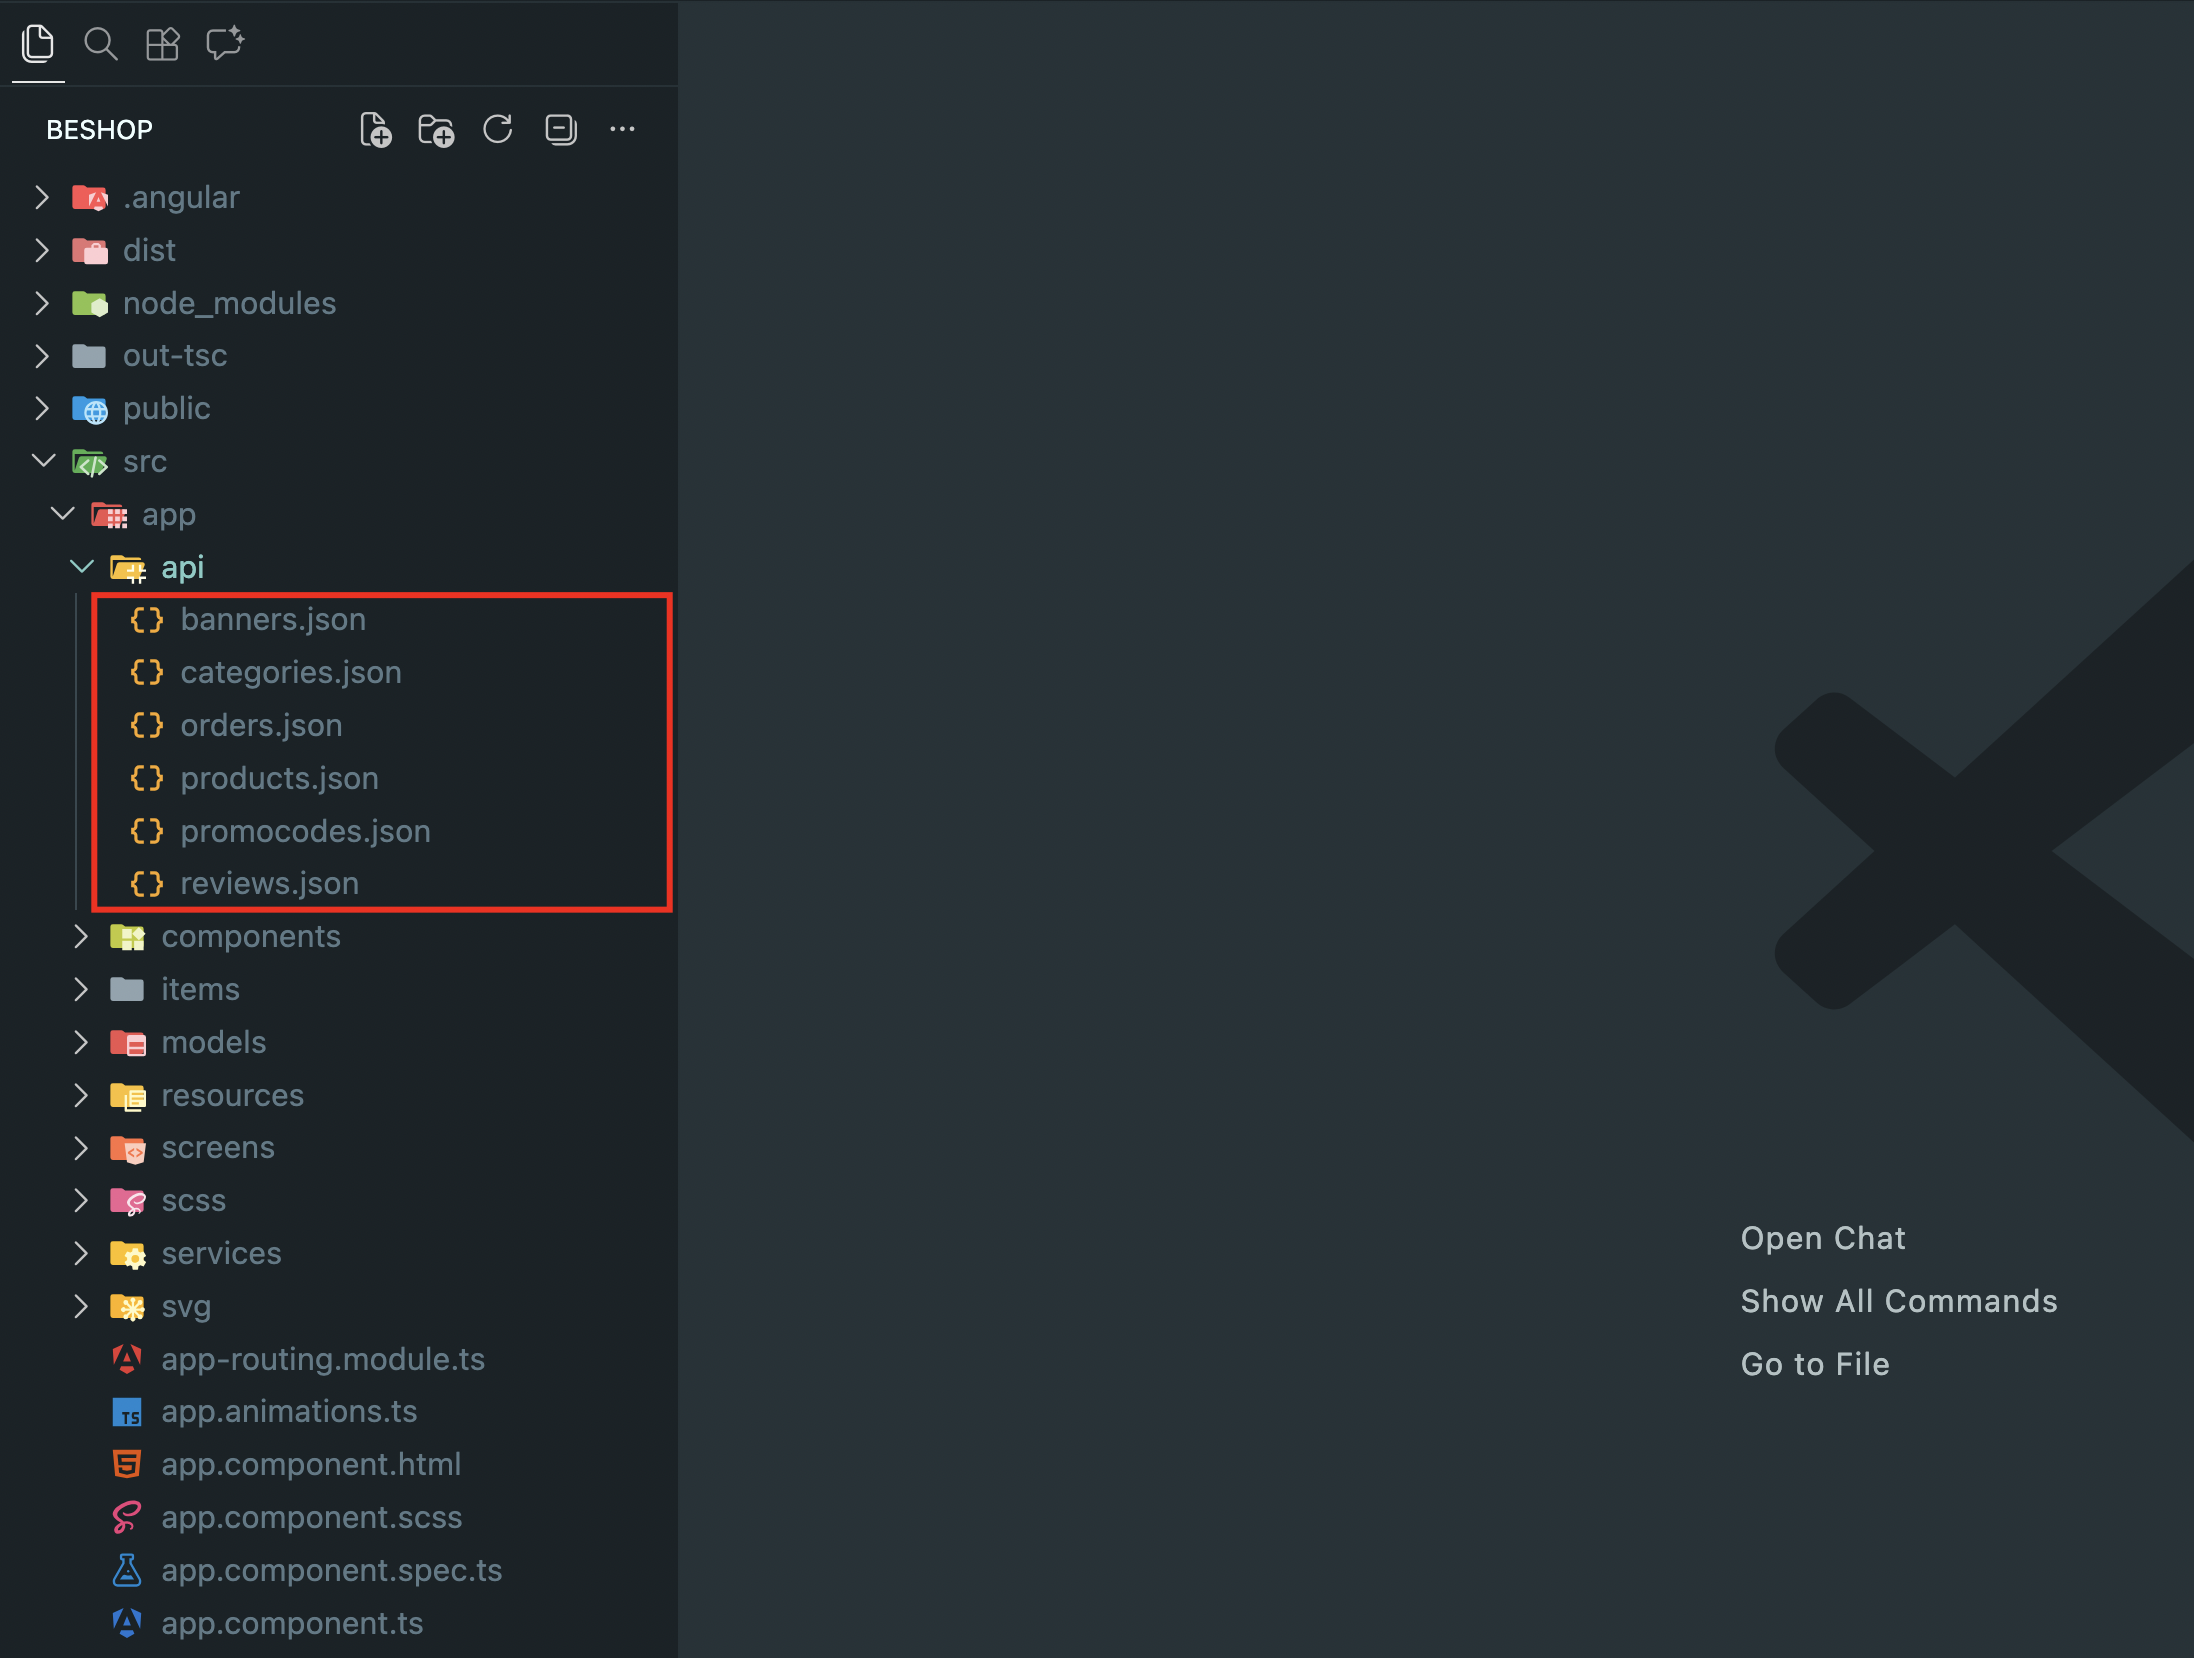
By default, the project uses mock APIs located in the
src/app/api
folder. These mock data sources allow you to test and develop the
application without connecting to a real backend. You can easily
replace them with real API endpoints when you are ready to integrate
live data.
11. API Integration
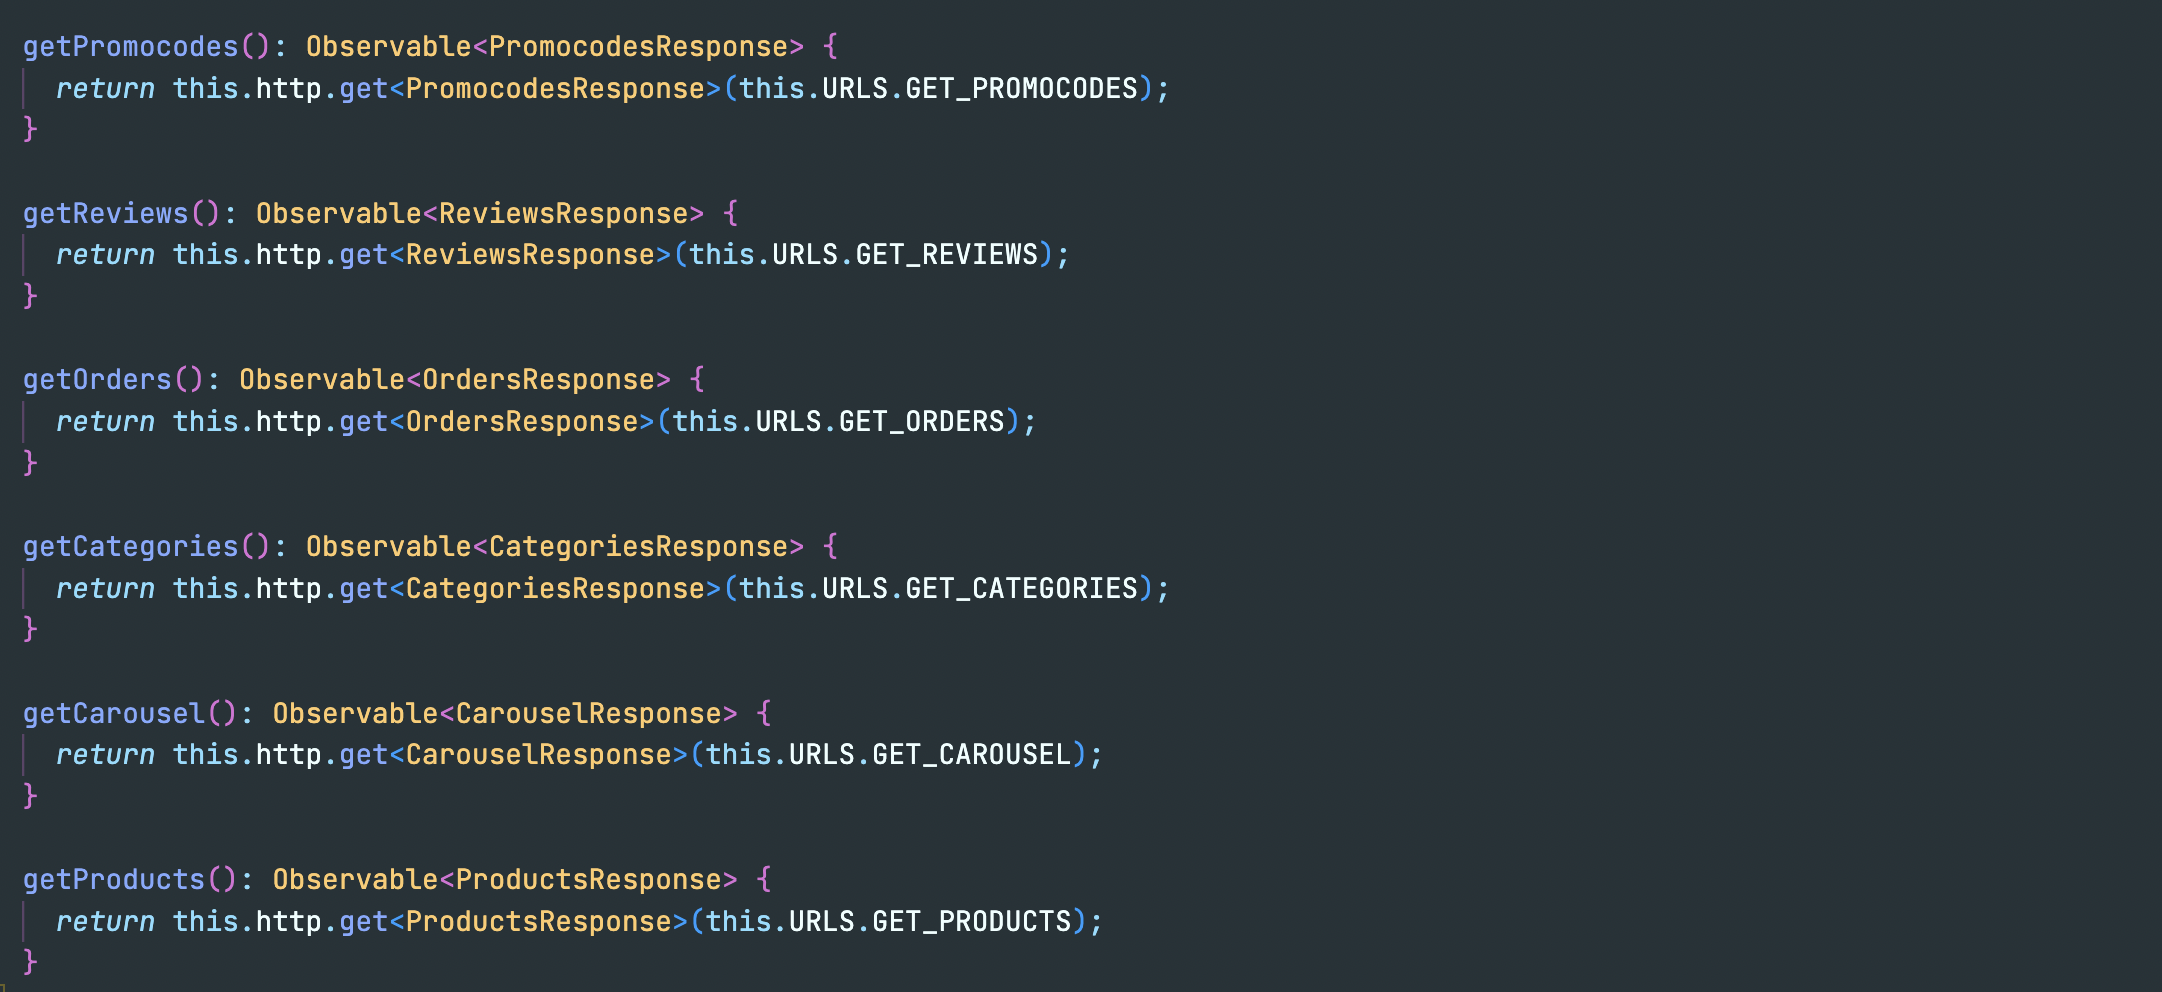
To connect your application to the provided APIs and use real data instead of mock data, create a dedicated Angular service for data fetching. This service will handle requests for banners, categories, orders, products, promo codes, and reviews.
Steps:
1. Create a new Angular service (e.g.,
api.service.ts
) in the
src/services
folder.
2. Implement methods in the service to fetch data from each API
endpoint using Angular's
HttpClient
.
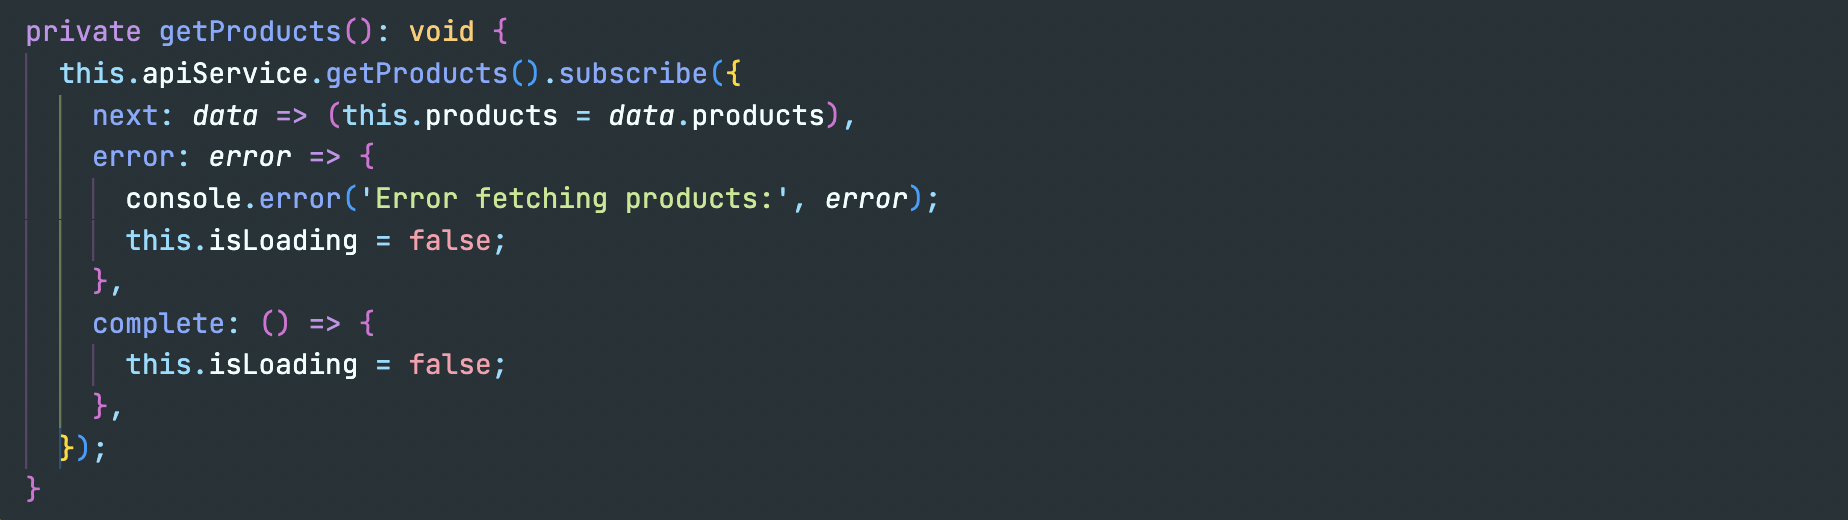
3. Replace mock data in your components with data retrieved from the
service.
Example of an Angular service method to fetch promo codes, reviews, orders, categories, carousel, and products:
And example of how to use the service in a component:
12. Support and Dependencies
If you have any questions or need support, please contact me via
email:
kul.giorgi@gmail.com
The project uses the following dependencies:
The project uses the following font:
13. Changelog
Version 1.0.0 – Initial Release (March 8, 2026)
Product listing
Categories
Cart and checkout
Orders and promo codes
Reviews and banners